How To Increase 3d Printing Speed? The average 3D printing speed is about 10mm per second. This means that if you print a 1-inch cube, it will take your printer 2 minutes and 20 seconds to finish the job. If you want to get the job done faster, there are some things that can be done.
Related:
- Top 7 Best Dual Extruder 3d Printer Under $500
- Top 7 Best Filament For Lithophanes
- 7 Best Hairspray For 3d Printing
- Top 7 Best Direct Drive Extruder
- Top 7 Best Resin For 3d Printer
How to increase 3d printing speed?
There are 5 ways to make 3D printing faster, like changing the settings for your 3D printer. You can also make the walls thicker or infill denser. You can also use a larger nozzle or print at a higher layer height. It’s best if you do all of these things in the same batch of prints, with only one material.
Example
I have a quick question. I’m using Simplify 3D to print a tree frog and I noticed that the front legs come out looking weird, like bent sideways or something. My guess is that this is happening because it’s not printing fast enough.
When I slow it down to 50mm/sec for those parts of the print, it looks great and the printer isn’t screaming along. How can I increase the speed of my print? – Joe
Speed-related problems with 3D prints aren’t too difficult to solve, so let’s start there. You know it’s a speed issue because you tried slowing down and everything looked fine. There are two things to try:
Switch to a lower layer height (lower resolution). Try 0.3mm and see how that looks compared to your usual 0.15mm layer height. If you haven’t already, enable retraction for this print. This will pull the filament back up into the extruder between lines so it doesn’t ooze out as much at the endpoints. You can try a long retraction distance and speed to see if that helps.
Also, look at the temperature of your print. If it’s running much hotter than usual, this can also make your outer perimeters ooze more and cause this kind of outward bending when they cool down too fast due to rapid solidification.
Lastly, if you have Simplify3D set up with layers as “perimeters,” then add a single extra perimeter around the object before starting to print infill/the interior structure – basically just a ring of plastic outlined by where the extrusions will be on top and bottom. This thickens up the layer that does most of the work during printing (perimeter or infill), so the outer perimeter won’t have to do nearly as much work.

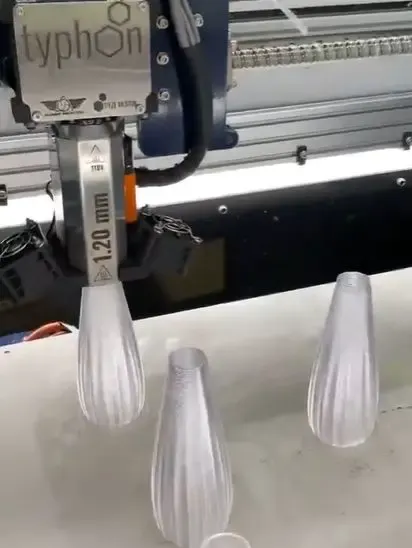
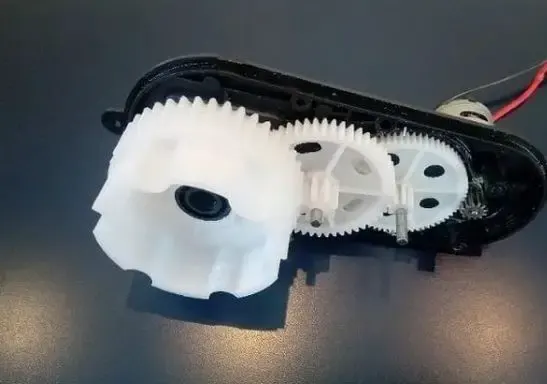
How To Increase 3d Printing Speed? (cre: 3dprinterly)
How to reduce 3D print time Cura?
There are several points to be considered, such as the model structure and printer mechanical structure.
- Reduce the number of polygons in the model: reduced number of polygons, reduced print time Cura because 3D printer saves processing time by using less polygons.
- Higher printing speed: set a higher printing speed than usual for your 3D printer and reduce Cura printing time . For example, if you usually print at 30mm/s, try increasing this up to 45mm/s or even more – but do bear in mind that this will not work with all types of materials out there so always check your material’s guidelines before trying anything new!
- Reducing the print temperature: reducing print temperature and save Cura printing time, but it is important not to reduce this too much as your final results will suffer. Try experimenting with between 10-15 degrees lower than usual.
- Make sure that you are using the correct slicing software for your printer model – what works for someone else might not work for you! Different brands have different settings so it is best to stay within these parameters where possible in order to reduce processing times on Cura 3D printers.
- Reduce solid layers: reducing solid layers through the Cura reduces the number of polygons in a layer which also saves build plate adhesion points per square inch which means reduced sticking problems when printing. One easy way to do this is to simply turn down your ‘infill’ levels. Start by reducing this just slightly until you see the benefits, then work up from there if necessary.
- Changing layer height: changing layer height makes it possible to print smaller details in Cura. 3D printers can adjust layer heights (in most slicers) between .05mm and 5mm or more depending upon your printer model. If you are having problems with layers sticking together when printing try decreasing this number; conversely if you are struggling with under-extrusion issues then increasing the layer height might be a solution (though that won’t reduce Cura print time).
- Changing retraction settings: changing retraction settings can reduce Cura printing time and improve the quality of your prints by reducing stringing. Changing these settings will depend upon your printer model, filament type and nozzle size (there is a lot to consider!) but generally you should set retraction between 3-5mm at the end of a print, and 1-2mm when travelling over open spaces.
- Using retract while traveling: using retract while traveling reduces Cura printing time because it keeps the flow consistent even when there are no objects being printed which helps to prevent under-extrusion problems. You’ll need to experiment with this based on what material you are using; if it’s not already built into your slicer software then you’ll need to switch on the appropriate parameters.
- Using support less often: support is essential but it can also clog up your printer causing maintenance problems down the line, plus Cura printing time will be affected due to the additional processing. Try changing your slicer settings to use support only where absolutely necessary – or not at all! If you are having build plate adhesion issues for example try increasing the number of shells in your print which makes it more sturdy without needing support.
- Use Cura 2X more strongly: using Cura 2X more strongly decreases Cura printing time because it uses a stronger extruder temperature. However, bear in mind that this could warp smaller models and details.
- Try using a brim: using a brim can help Cura printing time because it helps to build up the corners of your print which makes for better adhesion and prevents curling. This is useful if you are having issues with under-extrusion too, as it boosts adhesion throughout the print.

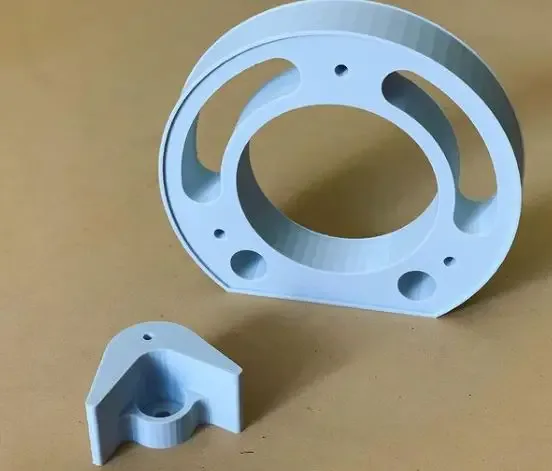
How To Increase 3d Printing Speed? (cre: all3dp)
- Turn off support where possible: turning off support altogether reduces Cura printing time because slicer software doesn’t need to generate supports during slicing – yet this does not produce quite as good results so only use this option if you cannot achieve good quality levels otherwise. Bear in mind that some printers will automatically switch on or off depending on the printer model!
- Sticking to basic, quick settings: using Cura’s ‘quick print’ settings reduces Cura printing time because it keeps the quality of prints quite basic – this makes for a faster printer but can be less accurate depending upon your model. Try switching these on if you are having issues with over-extrusion or under-extrusion and see how that affects Cura printing time – often results will be good enough without needing complicated adjustments.
- Disable support snaps: disabling support snaps decreases Cura printing time as this feature requires additional processing so it saves you time overall. Bear in mind that this option could result in worse build plate adhesion, so only do this if you cannot achieve good quality levels otherwise.
- Reduce infill: reducing infill reduces Cura printing time because a lower percentage infill will print faster and uses less material while producing the same quality results. Bear in mind that this option could also result in weaker prints though, so only use it if you cannot achieve good quality levels otherwise.
- Switch off Retraction: switching retraction off completely decreases Cura printing time as there is no need for additional processing involved to remove excess filament during travel. This can help with problems such as under-extrusion too but increases the risk of clogged nozzles so always experiment and see what works for your printer model and material type!
- Eliminate overhangs: overhangs cause Cura printing time to increase due to the additional processing involved with accurately generating support during slicing. Switching on ‘support everywhere’ can help avoid this issue but get rid of overhangs altogether by reducing the angle that your layer hangs from (the default is 45 degrees, try reducing it to 30 or even 20).

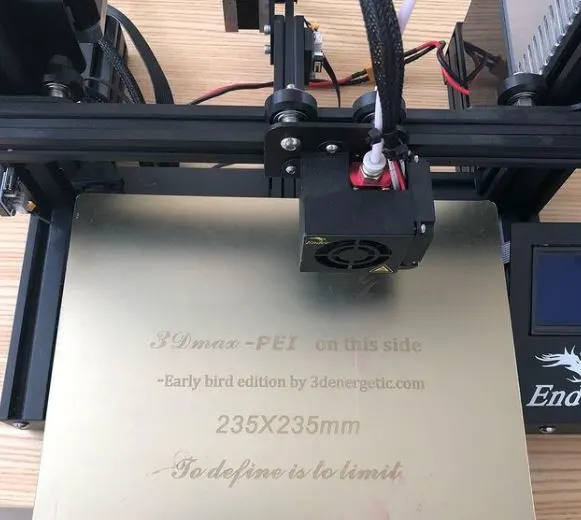
How To Increase 3d Printing Speed? (cre: 3dprintbeginner)
- Don’t use high infill: using a low percentage of infill will decrease Cura printing time because less material is used and no supports are required which means less processing during slicing. Bear in mind that this option could result in weaker prints though, so only use it if you cannot achieve good quality levels otherwise!
- Upgrade your printer: upgrading your printer could decrease Cura printing time because you may be able to increase print speeds and improve quality with better hardware. Bear in mind that this is a more expensive option, but one which will save you time overall.
- Use Cura strength: using Cura’s strength setting when generating supports can help reduce Cura printing time by increasing the support density where required – this makes for faster prints and can reduce problems such as under-extrusion too! However, bear in mind that it reduces build plate adhesion so only use this option if you cannot achieve good quality levels otherwise.
- Switch off supports: generating support material during slicing adds processing time to Cura printing time, so switching this feature off completely decreases the amount of time it takes to complete your print – bear in mind that you won’t be able to remove excess filament with this option though, resulting in reduced build plate adhesion.
- Upgrade your slicer software: upgrading your slicer software could decrease Cura printing time because newer versions
- Avoid full infill on thin walls: avoid creating 100% infill where possible on very thin structures because this will increase Cura printing time by a lot. Instead, use a low infill percentage or even switch off infill completely on these areas to decrease Cura printing time.
- Enable draft: enabling ‘draft’ when generating supports in Cura reduces Cura printing time because it doesn’t need to generate supports for this angle, speeding up the process and reducing post-print clean up too! Bear in mind that this option could result in poor quality print finishes though so only use it if you cannot achieve good quality levels otherwise.
- Switch off skirt: switching off the skirt when starting prints from scratch decreases initial slicing time so you can get your printer started much faster! When using pre-sliced files, switch off the skirt on any prints that don’t require it to further decrease Cura printing time.
- Reduce top/bottom thickness: increasing top and bottom thickness increases print times because additional material is being used which also increases post-print processing time too! Decreasing this option will reduce Cura printing time though so always try experimenting with different settings for optimum results.

How To Increase 3d Printing Speed? (cre: gambody)
- Change material type: changing print material type could affect your printer’s optimal performance levels so always experiment with different materials until you find one which performs best for your 3D model designs! Bear in mind that certain materials are more brittle or less flexible than others but you can improve flexibility by switching infill to a lower percentage.
- Change material density: changing print material density could affect your printer’s optimal performance levels so always experiment with different materials until you find one which performs best for your 3D model designs! Bear in mind that higher density materials will be more rigid and sturdy whereas lower density materials will be softer and more flexible.
- Change infill pattern: switching infill type can help improve the strength of a finished print, increasing or decreasing Cura printing time depending on the infill setting used – this option may not affect overall Cura printing time though as it is only an additional processing step during slicing!
- Reduce retractions: reducing retraction distance reduces the number of times filament is pulled from your 3D printer’s nozzle, which reduces the build-up of residue on the nozzle and increases Cura printing time! Bear in mind that retractions are necessary to prevent oozing so only reduce this option if you cannot achieve good print quality levels otherwise.
- Reduce travel speed: reducing your machine’s ‘travel’ speed decreases the amount of material being extruded at any given time during printing – this will decrease both Cura rendering time and Cura printing time by minimizing material usage! This also reduces post-print clean up though, so it could be worth experimenting with travel settings before deciding whether or not to use them.
- Reduce flow rate: reducing your machine’s flow rate (by turning down the stepper motor amp rating) decreases the amount of material being extruded at any given time during printing – this will decrease both Cura rendering time and Cura printing time by minimizing material usage! This also reduces post-print clean up though, so it could be worth experimenting with travel settings before deciding whether or not to use them.

How To Increase 3d Printing Speed? (cre: pick3dprinter)
3D printing speed vs temperature
The new cheap 3D printers can measure up to 400 degrees Celsius.
This is within the range where you can also bake cakes in the oven, so you probably do not have to worry about your kitchen being bombarded with toxic fumes either. But what could actually happen if something gets printed at much higher temperatures than this? It’s unlikely that a footwear manufacturer would use these kinds of temperatures for their own products, which are mostly made up of soft PVC material.
The high point here is, without doubt, the thermoplastics used for rapid prototyping or printing parts that are supposed to become injection molded parts eventually. What kind of plastic really gets printed at such high temperatures?
Of course, we could give you our own list of thermoplastics and the temperature at which they become fluid. But why should we do this if Wikipedia has a very comprehensive list on their site already? For your convenience we’ve compiled some interesting parts here:
- Acrylonitrile butadiene styrene (ABS): 250 °C – 350 °C / 480 °F – 660 °F
- Butyl Rubber: 100°C / 212°F – 140°C / 284°F
- Epoxies: From 150°C / 302°F up to almost 500°C / 842 F
- Nylon 6/10: from about 180°C up to 300°C / 356°F – 572°F
- Nylon 11: from about 220°C / 428 ° F up to 325°C / 626 ° F
- PC: 215 – 240 ° C / 419 – 464 ° F
- PEEK: around 300 ° C or 572 ° F
- Polycarbonate (PC): around 200 ° C or 392 ° F* *Source: Global Plastics, via Wikipedia
But what happens if the plastic starts to burn?
Can this happen in a 3D printer when printing at too high temperatures? Will you see big flames coming out of your extruder when it’s turned on and the heating block is much hotter than normal? The answer is no. When you print a thermoplastic, the hot end of the extruder has to heat up raw pellets before they’re extruded. The process is quite similar to cooking: if you put raw potatoes in an oven set at 200°C / 400°F and forget about it for 30 minutes, chances are that your potatoes will burn before they get cooked through. And what’s true for food is also true for plastics: the higher the temperature at which plastic becomes fluid, the quicker it burns when exposed to oxygen.
What does this mean for 3D printing? It means that we have to stay within a specific range so that our printed parts don’t burn and turn brown or even black instead of staying nice and white like ABS does when it’s extruded at the right temperature.

How To Increase 3d Printing Speed? (cre: machinedesign)
How does this affect 3D printing speed?
3D printers that can reach such high temperatures for their heating blocks usually have a lower maxiumum print speed than devices that only work with thermoplastics that become fluid below or around 220°C / 428°F.
On the Ultimaker 2, we set the maximum extrusion and travel speeds to values slightly higher than what our tested filament suggests is realistic (e.g.: we would print PLA @ 40mm/s instead of 30mm/s). If you want to go over these speeds, chances are that your prints will turn out just fine as long as you’re within a range where your plastic won burn.
Don’t go crazy and print at 80mm/s and expect that your ABS part will look as nice as a 40mm/s one.
Printing materials other than plastics
Okay, so now you probably know why 3D printers need to be able to reach high temperatures.
But does this still apply if you want to print with chocolate or ceramics? In short: no. For these materials the standard temperature range of 220°C – 260°C / 428°F – 500°F is still valid – but only for the hot end where the raw material gets extruded!
The build plate on an FDM machine usually stays well below 50°C / 122 °F during printing, which is a good thing because it helps prevent warping from occurring.

How To Increase 3d Printing Speed? (cre: creality)
Some industrial machines offer ways to print with industrial materials like cement, metals, or glass in combination with (heated) build plates. We don’t recommend you try this out at home because of the safety risks involved – after all, these 3D printers are not equipped with a thermocouple to detect if anything goes wrong.
If you accidentally run your machine without the cooling fan that’s supposed to keep the nozzle from getting too hot, then things can quickly get dangerous for both you and your printer.
Conclusion
The printer is the limiting factor in 3D printing speed. With a fast enough printer, it’s possible to print an entire shoe in less than 10 minutes because all of the components are printed at once.
As with any other technology that has exploded into popularity recently, there will always be improvements made and innovations introduced as time goes by so you should stay tuned for more news about how quickly 3D printers can produce finished products.
Further Reading:
- Top 7 Best 3d Printer For Board Games
- Top 7 Best Creality 3d Printers
- 7 Best Filaments For Ender 3
- Top 7 Best 3d Printer For Nylon
- Top 7 Best 3D Printer For Cosplay Armor
Tags: #Petg #Tpu #Abs #Supports #Panels #Pause #Kidney #Lower #Speed #Creep #Quality #Adhesion #Monoprice #Filament #Firmware #Bed