With a 3D printer, you can create just about anything. This is an amazing innovation that has only been around for the past decade or so. But as with any new technology, there are still some kinks to work out. One of these current problems with 3D printers is heat creep, which makes it difficult to print larger objects without them breaking apart in the middle of printing. In this blog post, we’ll go over what causes heat creep and how to fix it using a few simple tips and tricks! How To Fix Heat Creep 3d Printer?
Related:
- Top 7 Best Dual Extruder 3d Printer Under $500
- Top 7 Best Filament For Lithophanes
- 7 Best Hairspray For 3d Printing
- Top 7 Best Direct Drive Extruder
- Top 7 Best Resin For 3d Printer
How to fix heat creep 3d printer problem?
You have just brought your new printer. You are excited to print but you encounter a problem that makes printing impossible instead of smooth and effortless as expected. It is called heat creep. There are some factors that contribute to this issue. The major ones are the material being printed with, bed temperature, filament being used, and extruder temperature.
Before troubleshooting heat creep, make sure to adjust the temperature of your printer after you have installed the printer driver.
Do not forget to install cleanly and correctly if you are fixing it for the first time.
Many 3D printers do not need heatsinks, but if there is any like this one then it will require additional cooling. You can also check the fan specifications of your 3D printer.

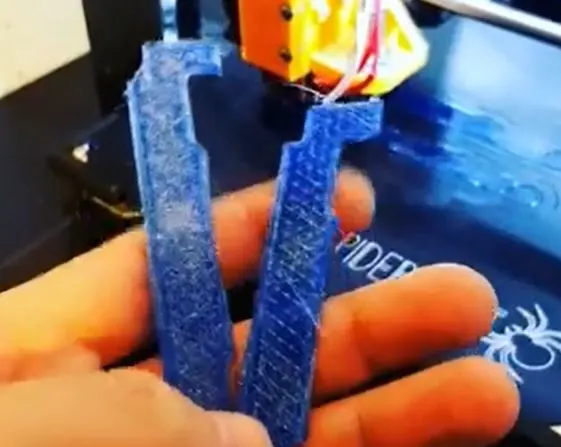
How To Fix Heat Creep 3d Printer? (cre: prusa3d)
How to fix heat creep in RepRap? (replace)
This problem mostly occurs in high-temperature printing materials like ABS plastic. Increase the bed temperature if this is an ABS material that you are printing with by 10 degrees, or decrease it by 5 degrees if it’s PLA material. This can reduce heat creep by a large margin. If you are printing in PLA material, decrease the temperature of the extruder to avoid this issue.
Another cause of heat creep is when there is too much pressure on your hotend.
It may happen when you switch from PLA to ABS or when you start using aluminum instead of acrylonitrile butadiene styrene (ABS) for printing.
Loosen the tension by one tiny turn and see if it helps with fixing this problem. Increased fan speed after increasing temperature will also help in reducing heat creep in RepRap printers.
You can increase the speed either via slicer software or through platform host software used for controlling firmware on printer electronics. In order to get rid of this issue, you can also switch between materials.
How to fix heat creep in MakerBot? (temperature)
Use PLA instead of ABS if you are facing this issue with your MakerBot printer.
Increase the temperature of the bed by 10 degrees and decrease the temperature of the extruder by 5 degrees. Decreasing pressure applied on hotend will also help in fixing the heat creep problem. You can also increase or decrease fan speed if needed.


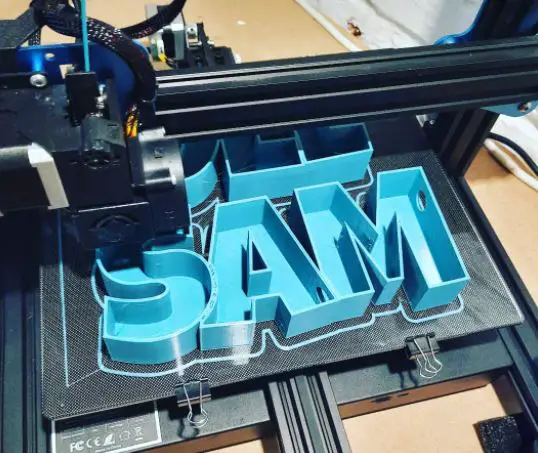
How To Fix Heat Creep 3d Printer? (cre: technipages)
How to fix heat creep in Ultimaker? (filament)
Heat creep mostly happens when using high-temperature printing materials like ABS plastic, PETG plastic, or nylon filament for 3D printing. Reduce the print temperature by 10 degrees, either via slicer software settings or through the host platform used for controlling firmware on printer electronics connected to the computer.
If this is an ABS material that you are printing with, increase the bed temperature by 10 degrees.
Decrease pressure being applied on hotend to fix the heat creep problem if you are using high-temperature printing materials like ABS plastic. You can also increase or decrease fan speed if it helps in fixing this issue. Ultimaker printers have a superb engineering design which makes them very easy to maintain and troubleshoot issues related to heat creep.
If this still does not help then go for a higher or lower filament grade according to your requirements.
It will definitely get rid of the heat creep issue if you use materials designed for 3D printer extruders.
How to fix heat creep in Lulzbot?
Change ABS settings to PLA by increasing the temperature of the bed by 10 degrees if you are facing a heat creep issue with an ABS filament. You can also decrease the temperature of the extruder by 5 degrees. Decrease pressure being applied on hotend to fix the heat creep problem if you are using high-temperature printing materials like ABS plastic. Increase or decrease fan speed if it is helpful in fixing this issue.
Increasing or decreasing temperature according to the material being used is one of the most effective ways to get rid of this problem in 3D printers regardless of which printer you are using, be it LulzBot TAZ 6, Makerbot Z18, or RepRap Prusa i3, Hephestos 2. After that, changing the filament grade is another solution for this problem.
It really depends on the type of material that you are using and there is no universal approach to fix heat creep in 3D printers.
When looking for a printer, keep in mind these tips we have discussed here on how to avoid heat creep. Also, it will be helpful if you look at some other important factors before buying any particular model or brand as well as their specifications and price range so that you can make an informed decision and get the best value for your money.


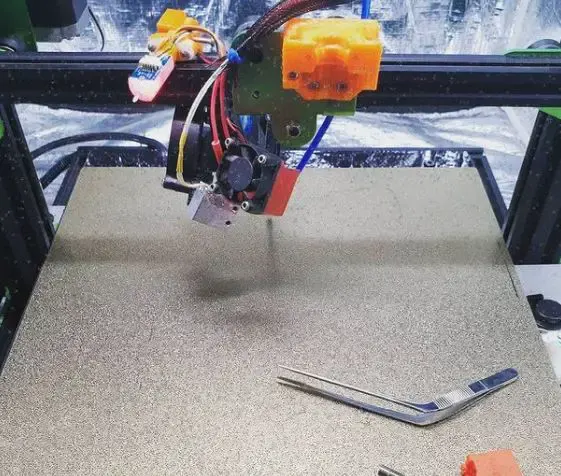
How To Fix Heat Creep 3d Printer? (cre: 3dinsider)
What Is Heat Creep in 3D Printing? (hot end)
Heat creeps in 3D printing is when the heat from a heated bed or hot end causes a part to deform. This can happen in a variety of ways depending on how the printer and machine are configured.
Heat Creep is a common issue for many FDM/FFF machines, although it can occur with other types of printers as well.
How Does Heat Creep Occur?
The most common way that heat creep occurs in an FDM printer is when the filament begins to soften from being too close to the hot end nozzle without adequate cooling. The warm, soft filament begins to sag downwards and often attaches itself to the print surface causing poor print quality and additional issues such as blobs and strands (Warping).
The risk of heat creep in a hot end is often a function of how close the nozzle is to the print surface. If it’s too close, there may not be enough time for the filament to cool before it hits the print surface (especially if cooling fans are turned off or do not exist).
Another common way that heat creep occurs in 3D printers is when the heated bed creates an uneven layer height across one or more layers due to inadequate cooling. This can create undesirable effects like blisters and honeycombing (see image below) which result in poor print quality (Forum post about Blisters on Prints). These effects can also happen with other types of machines where there isn’t good airflow over the build area, such as SLA and DLP machines.

How Can Heat Creep Be Addressed?
The best way to prevent heat creep is to add active cooling to the nozzle and/or heated bed. Fans can be added to either area so long as they don’t cause too much of a loss in printing quality when turned on (more fans does NOT always mean better). See our Fan Configuration Guide for FFF 3D printers for information about adding fans and configuring them correctly.
Some users will also install an additional fan aimed at their heated bed in addition to any that might be pointed towards the hot end, but this really just depends on your particular setup and how it draws air through the printer enclosure. If you’re looking for more information about how airflow works and whether adding another fan is a good idea for your particular printer, check out our Airflow Optimization Guide or watch this video:
Another way to prevent heat creep in FDM 3D printers is to reduce the mass of filament that lays on top of the print surface.
This can be done by simply turning up your bed temperature so that when it does begin to soften from absorbing too much heat from the nozzle, it will quickly solidify again before much damage is done.
You should NOT have your heated bed set above 110-120C when performing this test even if you have an all-metal hot end(some people report using a temperature as high as 150C without any issues). Some FFF users report good results with a metal build plate instead of a glass one because the metal will absorb less heat from the nozzle and thus allow it to cool faster. In general, you need to experiment with your particular machine in order to come up with a good solution for heat creep prevention when using FDM printing techniques.
There are other ways that heat creep can be addressed depending on which type of printer you have, but these two methods cover most types of printers available today.

How To Fix Heat Creep 3d Printer? (cre: stackexchange)
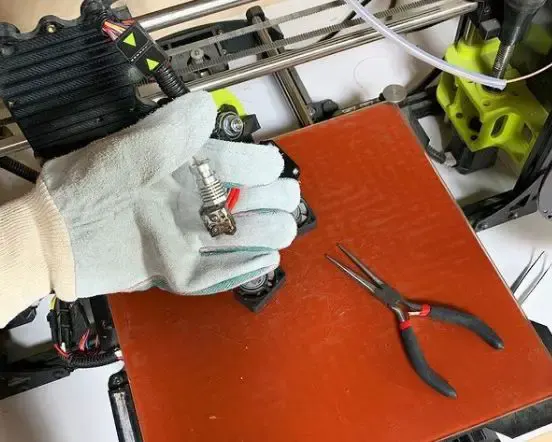
3D printer heat break part replacement (speed)
Replacing a heat break in your 3D printer is not something that you are likely to have to do, but it’s always good to know what the steps are if you need to. There are two manufacturers of metal hot ends currently on the market, E3D, and J-Head. This tutorial shows how to replace the heat break or thermistor block on both types of hot end. We will be using an E3D V5 Bowden Hot End for this article.
You will need tools commonly found around your workbench If your hot end has a fan mounted squarely over the heatsink as the V5 does, this may make things easier. Once you get past removing the Bowden tube assembly you will be removing the heat block from the top of the heat sink.
Secure your hot end in a vise or clamp securely If you have a fan, it’s best to remove it now as it will impede access later on.
Remove the drive gear and filament guide from your hot end Remove your heater assembly from your hot end using tweezers or an Allen wrench. You may need to unscrew the Bowden tube coupling nut slightly, this may require some pliers to hold onto it while you twist if it’s been put together with thread-lock.
This is a good time to inspect your nozzle, clean off any built-up material with a sharpened toothbrush and isopropyl alcohol if necessary. Thread-lock is good for now as we will be re-torquing your nozzle later on.
Step one is to remove the heat break from the top of the heatsink If you have a J-Head hot end, this is where we remove our thermistor and thermistor amplifier board from the heatsink if it’s still attached. We will be putting them back in just below your heat block. Now that our heat break and thermistor block are free, next, we want to decide whether to keep the old thermistor block or replace it with a new one depending on how old it was.
Our V5 hot end shipped with a 2 pack of these blocks so I am going to replace mine as I don’t know how old the old one is.
You can also purchase them as a part or you can make your own using the E3D Block template from our Github page. Once we have removed our block, replace it with a new block if need be and place it back into your hot end.
Now that the thermistor block is in place below the heat break, let’s continue to move up Now that we have replaced/kept/cleaned our original thermistor block, it’s time to continue putting things back together. Bolt your fan back onto the heatsink with a single screw ensuring it’s aligned correctly between both washers and tighten it down securely. Replace your heater assembly and put thread-lock on either side of the nozzle if needed for extra security.
Now it’s time to replace your heat break re-torque your nozzle and you are finished! If you had the chance of removing the Bowden coupling, this is where we want to slide 4 – 5mm of PTFE tubing onto it before sliding it back into our extruder assembly. Once that’s done, tighten down two M3 bolts inside the hot end until they bottom out inside their holes on either side of where our Bowden coupling sits. You can now remove these bolts and give them a good twist until its snug again into place.

How To Fix Heat Creep 3d Printer? (cre: element14)
Now that everything is in place, run some filament through your printer until your hot end is at operating temperature so you don’t burn yourself when coming in contact with the hot end. Now would be a good time to put your fan back on if you removed it during the process too.
Finally, load up some filament into your hot end and extrude until you have reached at least 200mm/s speed before retracting with no filament coming out of the tip.
This will ensure that both our nozzle is heating correctly as well as the pressure system working properly so we don’t get any leaks. Once it’s printing correctly, slowly decrease your print speed retraction speeds while maintaining a constant print speed until we reach 50mm/s which is where we should stay at depending on material or documentation from E3D.
You did it! Hopefully, this was helpful and gives you an idea about how to work with our V6 hot end, if you have any issues please leave a comment below and I will do my best to answer them for you.
Conclusion
Heat creep is a common problem with 3D printers and can be fixed by adjusting the temperature settings. To fix heat creep on your printer, first identify what type of material you are printing in (PLA or ABS). The PLA needs to be heated up to 180 degrees Celsius while the ABS should only reach 160 degrees Celsius.
This will ensure that both materials print well without any damage done from too much heat. After identifying which material you need for your project, set your temperatures accordingly and check them periodically throughout the process for an even finish. If this doesn’t work after multiple tries, it may require further troubleshooting before achieving success but these simple steps should get you started!
Further Reading:
- Top 7 Best 3d Printer For Board Games
- Top 7 Best Creality 3d Printers
- 7 Best Filaments For Ender 3
- Top 7 Best 3d Printer For Nylon
- Top 7 Best 3D Printer For Cosplay Armor
Tags: #Petg #Tpu #Abs #Supports #Panels #Pause #Kidney #Lower #Speed #Creep #Quality #Adhesion #Monoprice #Filament #Firmware #Bed
Tags: way to fix heat creep, way to solve, thermal, correct, answer copy link, answer show activity, receive notifications edited, bronze badges answered, stack exchange network, printer heat creep, printing heat creep, hotend cooling fan, end, ago, reply, site, accessories, twitter, facebook, question, follow