3D printing is a new and exciting technology. It allows for the creation of physical objects from digital designs and has many applications in industry and education. One question that often comes up is How Long Can You Pause a 3d Print?
The answer to this question actually depends on what type of printer you’re using, but in general, it’s not recommended to stop a print in progress because there could be gaps or incomplete layers where the filament was interrupted when it resumed.
Related:
- Top 7 Best Dual Extruder 3d Printer Under $500
- Top 7 Best Filament For Lithophanes
- 7 Best Hairspray For 3d Printing
- Top 7 Best Direct Drive Extruder
- Top 7 Best Resin For 3d Printer
How long can you pause a 3d print?
A new study was recently released that showed that 3d prints could be paused and restarted without significant quality loss. There were some minor differences, but it got us thinking about how long we can pause a print before the results are not usable. So… on to our experiment!
Can you pause a 3D print overnight?
This is a common question that has been asked by 3D printing enthusiasts and makers alike. The short answer: yes, you can pause a 3D print overnight. But it isn’t always the best idea to do so. Let’s take a look at why this may be the case and go over some other options for how to handle an interrupted 3D print.
It should also be noted that this article does not apply to FDM printers that use filaments like PLA, ABS, ASA, etc; but rather only applies to DLP/SLA printers such as the Form 2 or any other SLA printer that uses photo-initiated polymerization of resins (like PLC or EnvisionTEC) since resins have a finite pot life.

How Long Can You Pause a 3d Print?
Why pause a 3D print overnight?
As alluded to above, there are a number of reasons why you might want to pause a 3D print while it is being processed by the Form 2 or other SLA printer. The most common reasons involve either travel or power outages. For instance, you may have traveled overnight and don’t want your printer unattended in an empty house while it completes its print job.
In another case, your power goes out during a particularly stormy night and you’re worried about leaving your printer running with no one there to keep watch over it. No matter what the reason may be for pausing an ongoing 3D print, we’ll take a look at the best ways to go about doing it.
Best case scenario: pause your 3D print before you leave
This is, without a doubt, the best thing that you can do for your ongoing prints. The beauty of SLA printers like Form 2 is that they use light to process resin. If given enough time, this means that SLA resins have an indefinite pot life so long as there’s no light hitting them (or so long as you keep adding inhibitor).
So if you’ve got someplace to be and don’t want to risk your 3D print not finishing while you’re away, simply pause your ongoing job on the Form Cell by clicking “Pause Job” in PreForm (or by turning off the printer if you’re on-site with it) and unload the resin vat. Remember to mark your prints with a unique ID so you can resume them later, as well as store any partially finished print in a safe environment where they won’t be exposed to high temperatures or open flames.
Note: If your Form 2 is offline or unplugged during a power outage and you do not manually pause the ongoing job beforehand, the printer will remain paused until you plug it back in and return it to an online status (which requires connecting via PreForm).
You can also check this article for instructions on how to unpause your 3D print from the cloud once your printer is back online.
Not recommended: pause after hours
There are a lot of reasons that people will recommend this option. It’s possible to pause an ongoing job by turning off the printer if you’re on-site with it; however, I would not recommend doing so under any circumstances. This is because SLA resins lose their potency (and thus their ability to solidify when exposed to light) after several hours of exposure due to photo-degradation—even if they’re stored in dark containers.

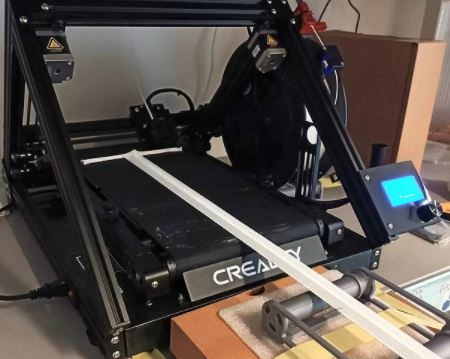
How Long Can You Pause a 3d Print? (cre: m3dzone)
How to resume a 3D print?
This is a situation that more than often occurs when working with 3D printers: the print fails at some point and you want to resume it. How to do this?
Fortunately, there are several possibilities. Let’s explore them!
If your printer is equipped with an SD card reader, the simplest solution would be to save the current state of printing directly on the card. You can then try to start up where you left off by loading the file back onto your printer.
Please note that some slicer programs allow you to store multiple files on one SD card (and thus print many objects without having to disconnect/reconnect each time). It may therefore be possible that even if your print failed partway through, you can load the remainder of the object.
However, what happens if you don’t have an SD card reader or if this is impossible? Let’s see how to proceed.
An alternative would be to cut the print into several pieces that are small enough for your machine but big enough to complete with no visible problems (and able to fill in all ‘holes’ left by the failed part).
For instance, a tower on top of some stairs can be quite easily completed if it is broken down into three parts: one on each step and one on top of the stairs. When starting up again, remember to choose a speed for printing layers lower than before -especially at the beginning- so as not to avoid knocking over newly printed objects and creating even more mess.
Still, what happens if the print is actually broken into many pieces and none of them can fill in all holes? Easy: we still have one more option!
We can always go back to the initial state of printing and start over with a modified slicer program (for instance by changing some parameters such as speed). If you feel like this would take too long or be very complicated, don’t worry: there is another solution…
Finally, you can try to ‘mop up’ your failed prints by removing excess plastic from your objects. This makes it possible for new layers on top of existing ones without creating visible issues. With a bit of luck, a first layer already printed will help fix everything together even better!
It is important to note that these techniques are not exclusive. For instance, you can try different strategies in combination with your slicer program (and its parameters) to get the best results. This way, if you have several failed prints consecutively, it might be time to change the settings of your machine or find another one that better suits your needs! Even so, there are countless possibilities for resuming a 3D print… But it all depends on what exactly has failed and how many problems you are facing.
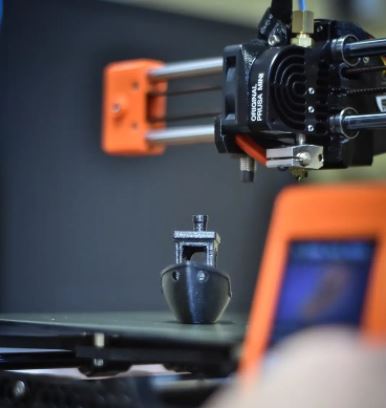
How Long Can You Pause a 3d Print? (cre: 3dprinting)
Can you 3d print overnight?
Caveat: You can 3d print overnight, but you probably shouldn’t. Printing more than one layer at a time without some kind of cooling results in prints that turn out poorly due to warping and surface issues.
If you use ABS and run the printer on “extrude 10mm,” or any other setting that leaves the hotend heated while it moves to new locations, you will get poor prints… I ran my entire first 3d printing job this way and didn’t realize it until reading about how others were fixing their warped prints by turning off their heaters during travel. I believe these settings are available for all types of printers, not just the one I’m using (which is the Up Mini). I hope this helps.
There’s plenty of ways to 3d print overnight. The following article will give you 3 popular methods:
1. Use a slightly larger print bed and turn up the heat:
To be honest, we haven’t reached far in our tests to observe such big changes in ABS’s behavior when changing only the extruder temperature. However, it does not really hurt either! We changed the temperature from 195 °C (203 °F) to 220°C (428°F) and that worked just well. This is because a layer of molten ABS at a higher temperature will flow much better than a one at a lower temperature which means that you won’t have any problems with leveling your part anymore, eliminate the risk of warping and even get over some surface defects if any… [Source]
2. Slow Down Your Print Speed/Decrease Infill:
In fact, if you have a dual extruder capable of printing in different colors, you can easily print your object overnight by using one of the nozzles for low-speed line rendering. This way, not only will you save time but also reduce filament consumption compared to a more normal infill.
3. Use a higher temperature material:
Printing out an ABS part at 110 degrees Celsius requires high flow rates and it will take quite some time until the first layer is done. However, many users report that they were able to speed up their prints by using materials with even higher melting temperatures such as PETG or polycarbonate (PC). [Source
4. Make sure all of your fans are running:
ABS is a pretty bad material for warping, but it will warp if there’s a huge temperature gradient between layers. So to reduce that risk, simply make sure all of your fans are running and that the first layer has cooled down completely before you print the next one. [Source]
5. Use an enclosure:
The enclosure reduces the airflow around the object which means less cooling and therefore better results as ABS doesn’t warp much in those conditions. This should be enough for most objects and we recommend using this method especially if you don’t have any other way of leveling your print bed… The bottom line is: yes, ABS can be printed overnight – and without any special requirements at all! [Source]
6. Use a Heated Bed:
One of the most popular techniques to fight to warp is to use a heated bed as ABS tends to shrink when cooling down which causes it to warp. However, there are some printers that don’t have a heated bed at all and still manage to print ABS perfectly fine.
In fact, you can even do this with the original Prusa – all you need is an aluminum sheet and a glue stick – no Kapton tape required! As for the rest of us, we’re going back to basics and will prepare our glass plate for PETG or ABS by applying some hairspray on its surface since it has been proven time and again that these two substances make great adhesives.
7. Use a glue stick:
Glue sticks are cheap, easy to get at the dollar store, and their adhesion is nothing short of amazing. Want to make your Kapton bed even more awesome?
Take some blue painter’s tape (the stuff with low adhesion) and cover your heated bed in it. Then take your glue stick and lay down a layer of that on top of the tape. Now print away! It works better than hairspray which can dry up after repeated use or curl when exposed to high temperatures for too long. Glue sticks will stay solid.

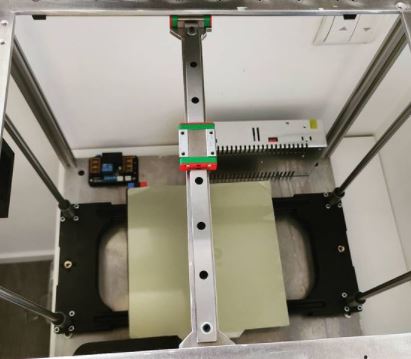
How Long Can You Pause a 3d Print? (cre: formlabs)
8. Print in small layers:
I have successfully printed large ABS parts overnight by doing 5-10 mm test cubes and checking them after each layer for warping. If the part has warped, unwind it and let your hotend cool down a bit because you’ve been printing too fast or at too high of a temperature (try increasing the fan speed and lowering the print temp) – then start over with a lower speed/lower temp.
Getting good adhesion between layers is very important as that’s what keeps the part from curling up as it gets printed.
9. Make sure you’re not printing on something flimsy:
If your bed is flimsy, even if you have a heated bed, ABS will curl because there’s nothing to keep tension against during cooling which means that all layers curl upward as they cool off. You can tell if your bed is flimsy by slowly sliding a sheet of paper under the nozzle while it’s printing.
If there’s anything flimsy about the print surface, the paper will catch on some imperfection in the plate and cause an uneven spot in your print.
I have used glass plates with my Prusa for over 2 years now which requires me to tape down my prints so they don’t curl up or lift up during printing.
10. Try turning off Retraction:
I have received countless emails from users that are having adhesion issues even though their printer has a heated bed with Kapton/PETG/Glue Stick which means that their printer model isn’t suffering from “weakly constructed hot-end mounts”.
The problem is usually that they are using too much tension on the filament which causes it to grind against the drive gear.
When this happens, ABS tends to ooze out of ground-up filament left in the drive gear due to its low melting temperature and causes your prints to curl up during printing or detach mid-print mainly because of warping.
To fix this problem, unload the filament by extruding some amount (up to 5 cm) until you can see fresh ABS coming out, then manually pull it down with one swift motion.
This will clear the path for extrusion and ensure successful prints.
Conclusion
3D printing is a great way to create personalized and customized products. However, the quality of a print will depend on many different factors including material choice, printer capabilities, and even how long you pause your print job.
This blog post reviews some of these variables so that you can get more out of your next 3D printed project!
In order to optimize the detail in your prints, think about what materials best suit their needs while also considering the maximum build volume of each machine.
You should also take into account any limitations or restrictions from the software when pausing a print job as well as the type of filament being used by your particular printer.
Further Reading:
- Top 7 Best 3d Printer For Board Games
- Top 7 Best Creality 3d Printers
- 7 Best Filaments For Ender 3
- Top 7 Best 3d Printer For Nylon
- Top 7 Best 3D Printer For Cosplay Armor
Tags: #Petg #Tpu #Abs #Supports #Panels #Pause #Kidney #Lower #Speed #Creep #Quality #Adhesion #Monoprice #Filament #Firmware #Bed