3D printers are expensive investments. You can’t afford to use it with a dirty heated bed because this will cause the 3D printer to be less efficient and produce poor-quality prints. But when you clean your heated bed, how do you know what materials are safe enough? How To Clean 3d Printer Heated Bed?
This blog post will teach you the techniques for cleaning your 3d printer’s heated bed without damaging any of its components.
Related:
- Top 7 Best Dual Extruder 3d Printer Under $500
- Top 7 Best Filament For Lithophanes
- 7 Best Hairspray For 3d Printing
- Top 7 Best Direct Drive Extruder
- Top 7 Best Resin For 3d Printer
How to clean 3d printer heated bed?
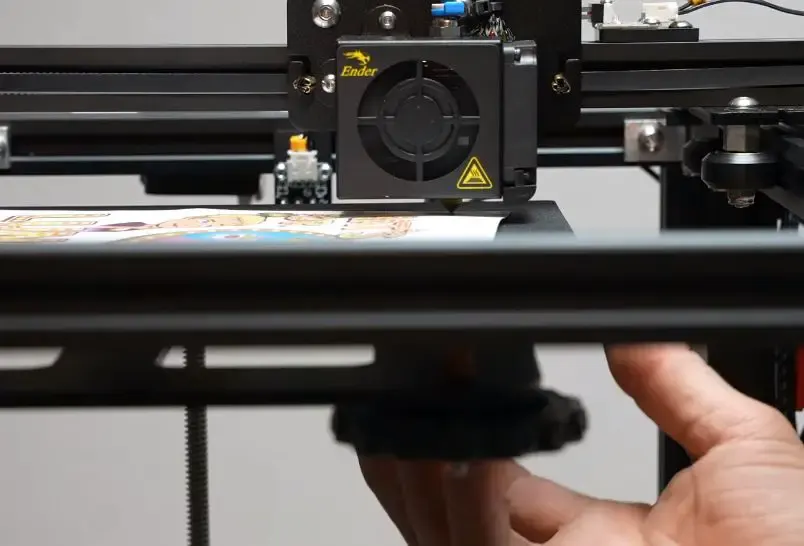
3d printer heated bed usually have a PCB that is used to print on 3D printing material, especially 1.75mm ABS filament, HIPS filament, and other special filaments with a heating temperature higher than PLA filament.
It’s known that the 3d printer equipment must be protected from dirt or dust because it can cause a short circuit or even burn out your hotend nozzle. Many people are asking about how to clean 3d printer heated beds properly? Today we will show you two ways of the cleaning process for DIY ideas. Keep reading!
The first way of cleaning this part is using alcohol solvent which you should apply into both side holes then use cotton swabs to absorb it completely. And then you need to power off your 3d printer and wait around 5 minutes for heating up this part to 60-70 degrees celsius. After that, you can use a cutter to cut off the cotton swabs which absorb alcohol solvent. And if it’s not clean enough for you, just repeat the above steps until you get a satisfactory result.
Another way of cleaning this part is using baby wipes or wet towels which you could apply directly on this part slowly then wipe out all dirt marks till it becomes perfectly clean
But remember never touch the red power cables on both sides because it will short circuit your equipment if not carefully cleaned!
And how about another newbie question: what happens after I power on my equipment but don’t place anything into the printing platform?
For newbie users, you should never power on your 3d printer equipment because the high heat of the heated bed will cause serious damage to it! If this thing happens, you can contact us immediately to service your 3d printer. Although not expensive, sometimes only brand-new spare parts could solve all problems with 3D printers.
Hope the above article may help many people especially beginners who want to DIY their first cleaning process for a professional result.
And if you have better ideas or methods about how to clean 3d printer heated beds properly, please share with others in the comment section below and we will update our guide later.
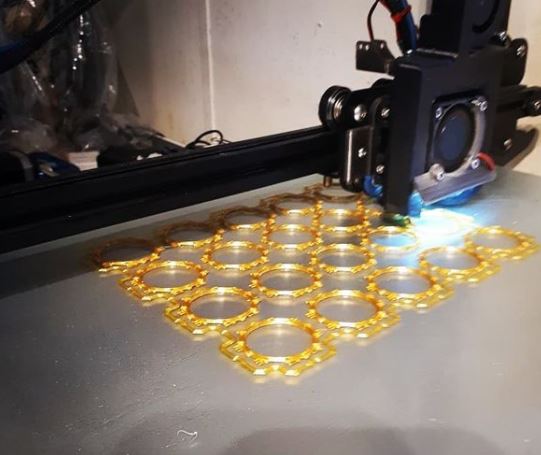

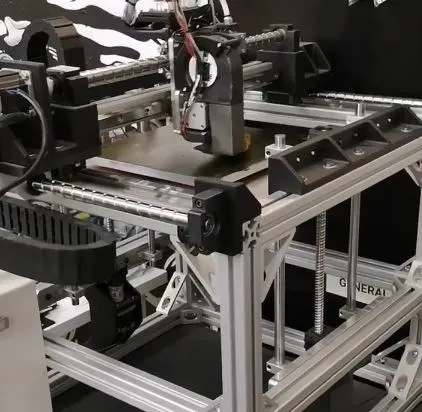
How To Clean 3d Printer Heated Bed? (cre: m3dzone)
Clean 3D printer bed alcohol?
For many, a dirty 3D printer bed is right up there with a jammed extruder and a non-functioning cooling fan.
Except it’s often easier to fix the other problems on this list of common print problems. In most cases, a dirty build plate leads to failed prints or worse yet, print layers that look like the ripples in the sand at the beach. You would think that you could wipe down your build plate, but some parts of the surface are very difficult to clean effectively.
You can try scraping it clean with acetone dipped sponge (be sure not to get any of the acetone into your chamber!), but even then you run the risk of damaging your glass or coating it on top of your heated bed. One way to avoid this is to use Skibak’s PEI (polyetherimide) print surface on top of your heated bed.
It provides excellent adhesion for prints, but it needs no prep work or smoothing before you get started printing. So if you’re having problems getting your current print surface to stick to the glass of your printer bed, maybe it’s time for a new bed surface.
It also works great with PLA and ABS! Please note that Polyetherimide has an annoying tendency of attracting dust like crazy.
So be prepared to clean off the plate every couple of days when switching between materials types.
Here is one review: “The build plate is extremely flat which means higher image accuracy when compared with others I’ve used.
The PEI coating means no more worrying about glues and tapes, and the texture is just enough to hold prints in place without completely destroying your delicate PLA parts. If you’re tired of dealing with tape or glue stick, this build plate is for you.”
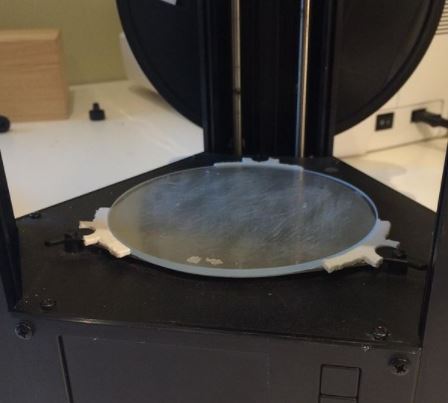

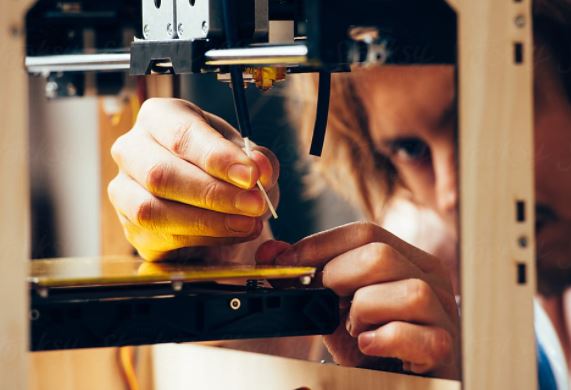
How To Clean 3d Printer Heated Bed? (cre: printin3d)
So clean bed 3D printer – better than glass?
Please note: I recently (Nov 2016) found out via the Monoprice support chat that they will now be selling a “continuous” PEI print surface sheet as an accessory part. This is great news as it makes replacing the print surface much easier/faster! Sometimes 3D printing can be exasperating and having a quick and easy way to switch out your build surface for another one like this is great.
The PEI print surface has indeed taken the 3D printing community by storm and for good reason. It’s very easy to set up, works out of the box with no cure time or other prep work needed, and it can be considered “self-healing” in that it fills in any scratches over time making them disappear.
Of course, this takes weeks but it does work if you are patient enough! But there are reports of residue sticking to your prints after they cool, so make sure you clean off the plate every couple of prints until you get used to what sort of residue is expected when printing with specific materials.
There are also some thick sheets available made from PVA (polyvinyl alcohol) which provide a little more stickiness than the PEI sheets, but you do have to be careful when handling them as they can tear or rip before you even get them on your printer bed.
Anyway, if you’re struggling with prints not sticking I would suggest getting a Polyetherimide print surface before looking into other possible fixes. You might find that it’s all you need!
3D Print Bed Alcohol?
Yes, after every few prints clean with isopropyl alcohol and a paper towel or q-tip. Just place your build plate in a container of isopropyl alcohol for 30 minutes then use a clean paper towel or cotton swab to remove any residue from between the lines of the heating elements on your hotbed. It is much easier than scraping it with a knife or scraper.
This allows you to keep the PEI sheet cleaner, and more importantly ensures that your hotend does not get clogged with residue. Soap can be used as well but some people have claimed that their washer has been stained from parts of the heating element being exposed on the bed. I recommend this cleaning process after every 2-3 prints if you are using PLA.
PLA requires a temperature between 170 C to 220 C depending on your printer and hotbed setup.
If you want a lower print temperature then use a scrap piece of paper towel underneath your build sheet for insulation before placing it on top of the heated bed in order to raise its effective temperature closer to 100 C. If you try to print PLA on a bed that is too cool you will end up having to abort the current print and re-level your plate and start over.

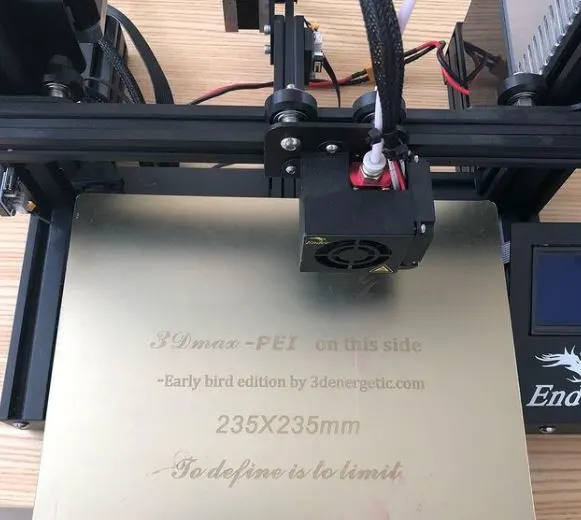
How To Clean a 3d Printer Heated Bed? (cre: 3dprinting)
Resetting Your Z Offset (ZERO)
This section assumes that you did not use the Makerbot software to generate your calibration file for Repetier Host or Slic3r, so please use this section if needed.
It is small but I put it in there anyway since I have seen some people skeptical about leveling the build surface when using a PEI sheet.
Use A Piece Of Paper
Using a piece of paper is the quickest and easiest way for those who are not sure if their end-stop screw or z motor is actually working.
If you can do this then great. If not then using an endstop adjustment is the next best thing as it will still allow you to level your bed without having to manually turn your extruder on and off.
1) With the front door of your machine open, take out one of your filament spools placing it near where you load filament for printing. Find an index card or piece of printer paper that fits under just one edge of your build platform by sliding it vertically between the build plate and roller arm closest to that edge’s corner.
2) Remove the build plate and take a look at the carriage to see which endstop wire is near your z motor. Pull that endstop up until it looks like it will barely catch when you slide your paper underneath the front edge of your hotbed.
3) You should already have 3 small screws, or 1 large screw with 3 holes, in each corner of your bed to level it using these instructions but if not then use them now!
Place one on top of one corner of the aluminum sheet where the paper meets the roller arm, place another opposite it on top of that same point this time on the other side under your hotend nozzle. If there are no more holes then put screws into all 4 corners evenly spaced around your printer’s bed.
4) Carefully place the build plate down on top of the precariously perched paper, making sure that it slides all the way in until it is flush with the endstop screws.
Once in place screw the leveling screws to where they lightly catch the roller arm but do NOT over-tighten them, just enough so that you can slide your piece of paper underneath without too much resistance or having to push it hard.
After performing this step you may find that you will have to keep raising or lowering one corner slightly to keep perfect alignment when placing/removing objects from your print bed using your x and y-axis accurate positioning.
5) You should now be able to see a small gap between each corner of your bed and your hotend nozzle.
Carefully take a look at each corner and find the opposite screw in line with where your nozzle would be if it were touching that corner then tighten or loosen that screw until there is no gap between that corner end of the sheet and nozzle.
Repeat this step for each hotend corner one by one, re-measuring your gab from time to time until you have eliminated all 4 small gaps without over-tightening/loosening any screws.
6) You now want to do this process again except with paper under 2 opposite corners instead of just 1 since this will give you a better idea of how much pressure you need when actually printing as opposed to just testing with paper only.
Set up bed leveling jigs as before but instead of just 1 corner use 2 opposite ones, one under each side.
Once you have eliminated all 4 gaps on your second time around with paper only it is time to try again using an actual print!
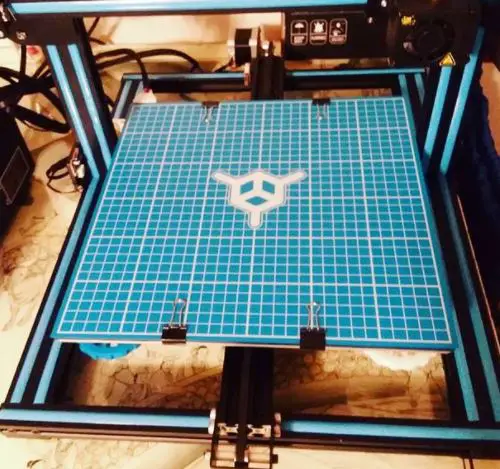

How To Clean 3d Printer Heated Bed? (cre: 3dprinterly)
2-4mm sheet of glass or PEI Print Surface
This section assumes that you did not use the Makerbot software to generate your calibration file for Repetier Host or Slic3r, so please use this section if needed.
1) Whether you used a piece of paper or the glass method earlier repeat steps 1 through 6 of “Resetting Your Z Offset (ZERO)” but this time make sure that your leveling screws are nice and tight before placing/removing objects from the bed.
If they are only finger tight then your bed probably won’t be leveled properly.
2) Once you have finished leveling the bed with proper tension on all 4 corners it is time to generate a new calibration file for Repetier Host or Slic3r.
You must do this to compensate for any slight variations in height between your hotend nozzle and glass print surface when they were at their original centers because if you don’t the base of each object will either stick too hard to the sheet in one part and not enough in another, making removal nearly impossible!
It just so happens that Makerbot has created a program that does just that called “Makerware” but unfortunately it is only compatible with Windows OS.
If you are using a PC then please follow these instructions to properly calibrate your x and y axis using Makerware, otherwise use these instructions.

3) With Repetier Host you can access this calibration function by opening up File then selecting “Calibration” at the top of the list on the left side of your screen.
Make sure that your Z offset is set to 0.0 for now! When it asks whether you are using a glass or PEI surface select P.E.I., after which it will ask whether you used paper or P.E.I to level your build plate, make sure you select paper since you already leveled it with PEI this time around (unless you skipped leveling with paper), finally enter in how many points it took for each wire lead to level your bed (don’t forget to enter in the height of your leveling jigs too). If you skipped this step when resetting your Z offset then it will automatically fill in 0.3mm for each gap, which is way too much!
Make sure that there are no other boxes checked such as X and Y calibration otherwise Repetier Host might think that you don’t want to use P.E.I. even if you do so be careful not to select anything else unless you know what they do.
4) Slic3r can access all of these calibration options by going to “Print Settings”, selecting either “Filament” or “Printer” depending on whether or not you to insert a custom filament diameter or not, and finally selecting “Calibrate Machine”.
In this menu it is important that you select the right machine from the list since Slic3r might generate a calibration file for a different printer altogether.
Make sure to select your Makerbot Replicator 1 or 2 only if you are using a Replicator 1 or 2 in Repetier Host! If you didn’t select “Import FFF profile” when generating your custom filament diameter then adjust all of the sliders so they match what’s shown in the picture below
If you did select “Import FFF profile” when generating your filament diameter then change them to these numbers instead: E = 0.000″, H = 0.0″, A = 0.00″, B = 0.00″, C = 22.86mm, D = 7.87mm
5) Now that you have access to Makerware or Repetier Host’s calibration it is time to place your first object on the build plate using either paper or PEI sheet attached to your standard glass print surface.
I highly recommend that you use a very small and lightweight object such as a 3D printed fidget spinner since they are extremely easy to lift up even with all of their holes filled in which will mess up the calibration if the tips of them don’t stick enough!
If you choose not to use a fidget spinner then make sure that the only thing touching the glass is the item itself and nothing else such as its pedestal otherwise this will mess up the calibration!

How To Clean 3d Printer Heated Bed? (cre: how)
6) If you are using Makerware then go ahead and click on “Prepare to Scan” at the bottom of your screen (make sure that both boxes next to it are unchecked!) after which it should automatically start scanning. This shouldn’t take very long so you might want to do something else in the meantime.
Once it finishes with its scan just hit “Cancel” on the popup window, place your part back onto the build plate, manually adjust where it is located if necessary, and finally click on “Scan Now”. It is important for this step that you don’t move your printer even if Repetier Host or Slic3r asks whether or not you want to since they can mess up the calibration if you do so! If you are using Repetier Host then go ahead and click on “Calibrate Z” at the top of your screen after which it should start scanning.
Once it finishes with its scan just hit “Save to File”, place your part back onto the build plate, manually adjust where it is located if necessary, and finally click on “Export GCode”.
It is important for this step that you don’t move your printer even if Makerware asks whether or not you want to since they can mess up the calibration if you do so!
7) Open up either Makerware or Slic3r depending on which one you used in the previous step (make sure to select the right machine too!) and if it asks you to enter the GCode file then do so. I recommend that you place your nozzle at Z = 0 using either Repetier Host or Makerware’s manual controls, hit “Process Item”, wait for Slic3r to finish processing the item, click on “Export GCode”, and finally open up ReplicatorG.
Once ReplicatorG opens up go ahead and, while holding down Control, drag its window so that it makes a 90-degree angle with your screen (or however much of an angle is needed in order for everyone reading this to be able to see the text) after which it should automatically load whatever GCode file was generated from Slic3r!

8) In this step we need to tell ReplicatorG where to place the first two sets of coordinates on your build plate. Look at the picture below and try to find a set of numbers that looks like what I have written before saying “Enter this value!”
Now enter those numbers into either “X” or “Y” depending on which one you see fit, click on the green “Set origin” button, and finally hit Control + A to move over all of the text in order to select it all!
9) In this step we need to tell ReplicatorG where to place each additional set of coordinates on your build plate.
This part is sorta hard for me to explain but what you want to do is make sure that you remove any X or Y values that might be on your first set and then click and drag on “Move” in order to highlight either of the numbers below it.
If you need more help look at the picture above!
10) In this step we will tell ReplicatorG how many copies of each set of coordinates that we want to print so please enter this number into the last box, hit Control + A to select all of it, and finally hit Control + C to copy all of it!
11) From here on out we’re going back into Repetier Host or Makerware (depending on which one you used for calibration). Just go ahead and click back onto “Prepare to Print” and then wait for those two programs to ask whether or not you want to move the nozzle and platform again! If it asks you where the GCode file is head on over to ReplicatorG, hit Control + V in order to paste those last two sets of coordinates, hit Enter on your keyboard, wait for Repetier Host or Makerware to ask whether or not you want to move the nozzle and platform again, click back onto “Prepare to Print”, and finally head on over again into ReplicatorG!


How To Clean 3d Printer Heated Bed? (cre: snapmaker)
12) This step is going to be a little hard for me to explain as well but what I recommend that you do is first make sure that your machine looks like what I have circled below (okay that might be a bit unclear so maybe draw what looks like an “X” on top of your nozzle since it’s most likely there already) and then put the target you’re printing in the corner just like what is shown below but leave out an empty space either in front or behind it!
After that just click on “Process Item” and hit Control + H in order to raise or lower your build platform (depending on which extruder you have) before clicking onto “Next Process”.
13) Hit Control + P in order to access ReplicatorG ‘s print options before entering whatever number for each field is required by your software.
Repetier Host, Makerware, and Slic3r all require different settings so please consult their manuals if you don’t know what you’re doing!
14) This final step is the easiest of all since it’s just a matter of hitting Control + P to access ReplicatorG ‘s print options, clicking onto “Print settings”, and then pressing F12!
15) Go ahead and save your model if you need to before clicking on “Combine all parts into one STL file”, entering any number that might be required into the text box (for this tutorial I entered 50 ), and finally hitting Control + A in order to select everything before hitting Control + C in order to copy it!
16) Now head back over to Repetier Host or Makerware (depending on which one you used for calibration earlier), make sure that it asks whether or not you want to move the nozzle and platform again, click back onto “Prepare to Print”, head on over into ReplicatorG, and then paste the last set of coordinates!
17) This step is a little hard for me to explain as well so I suggest that you just do your very best connecting the dots before clicking on “Process Item” before going through all of the tabs in order from left to right. In other words…
a) Click onto “Slicing…” b) Click onto “Layer height” c) Enter whatever number is required by your software d) Click back onto “Infill” e) Enter whatever percentage is required by your software f) Click back onto “Number of shells/Perimeters” g) Enter whatever number is required by your software h) Click back onto the other tabs
18) After this be sure that you’ve clicked onto “Process Item” and then take a look at what I have circled in red below because it’s something we need to do before we print (and especially for this model)!

How To Clean 3d Printer Heated Bed? (cre: instructables)
19) Before clicking on “Slice with Slic3r/Slice with Makerware” make sure that ReplicatorG asks whether or not you want to move the nozzle and platform again, choose whatever settings are required by your software, and finally click back onto the three triangles created by the red arrow!
This step is going to depend on which extruder option you used so please consult their manuals if you don know what I’m talking about!
20) Now that you’re finally done calibrating your MakerBot Replicator 2X, go ahead and click onto “Slice with Slic3r/Slice with Makerware” (depending on which software you will be using), make sure to save your model before clicking onto “Combine all parts into one STL file”, enter the number 50 again like we did earlier, and hit Control + A to select everything before hitting Control + C in order to copy it!
21) Head back over to Repetier Host or MakerWare (again depending on which one you used for calibration earlier), click on “Prepare to Print”, direct it towards the location of your STL file, and then add any custom settings that might be required by your printer!
After that, you should be able to save your model, move the nozzle and platform if it asks yet again, click onto “Slice with Slic3r/Slice with Makerware”, enter any number for both of your extruders, hit Control + A to select everything before hitting Control + C in order to copy it, head back over into ReplicatorG, paste the last set of coordinates, and finally click F12!
22) Go ahead and save the Gcode file if you need to before ejecting it from your computer.
This can be done by clicking on “SAVE” within Repetier Host or MakerWare depending on which one you used earlier after having clicked onto “Prepare to Print”!
23) Now, before continuing with this tutorial I need you to do something very important.
.I need you to go ahead and pause your MakerBot Replicator 2X, make sure that your MakerBot is unplugged, turn off the power strip or surge protector that supplies power to your printer, plug in both of your MakerBot extruders into their respective inputs on the right-hand side of your 3D printer (or wherever they’re plugged into depending on what model of 3D Printer you use), replug your MakerBot into its standard power source, turn on all three of those things again, click “Move” until the nozzle is at around 210°C for PLA filament and 230°C for ABS filament (make sure that your nozzle is on the platform before you do this step),
push “Home” enough times until both of your extruders are at around 210°C for PLA filament and 230°C for ABS filament (they should beep while doing so like they did earlier when calibrating while also heating up), make sure to wait about 10-15 more seconds afterward, make sure that you direct ReplicatorG towards your saved Gcode file, click F12, watch ReplicatorG go through all ten build platelayers, wait about 5 minutes after it’s completed printing all layers (or more depending on the resolution of your prints) because it takes time to cool down!

How To Clean 3d Printer Heated Bed? (cre: 3dprinterworldexpo)
24) Once all of that is done congratulations on having just printed your very first test print with the Replicator 2X! Now there are a few things that we need to do in order for this model to come out correctly!
First, grab a pair of pliers and pull the two pins which connect your two MakerBot extruders into their sockets on the right-hand side of your 3D printer (or wherever they’re plugged into depending on what model of 3D Printer you use), remove the build plate from ReplicatorG, put it back onto its aluminum rods, make sure that both halves of your vase slide smoothly without any friction whatsoever when pushed against one another, clean off any leftover pieces from either half of your vase from where it was at earlier when calibrating them, and finally reattach your build plate back onto your 3D printer!
25) Now you’re all done, congratulations again on having just successfully finished this entire tutorial from start to finish!
In conclusion, I hope that this will be enough information for anyone who was attempting to do this without any prior knowledge beforehand as it can take quite a bit of time and effort towards calibrating both of these things correctly.
If you have any questions feel free to ask them down below in the comments section or if you would like me to make a video tutorial showing how exactly I calibrated my MakerBot Replicator 2X then let me know as well! Finally, thank you so much for visiting my blog and reading up until here, I appreciate each and every one of you guys!
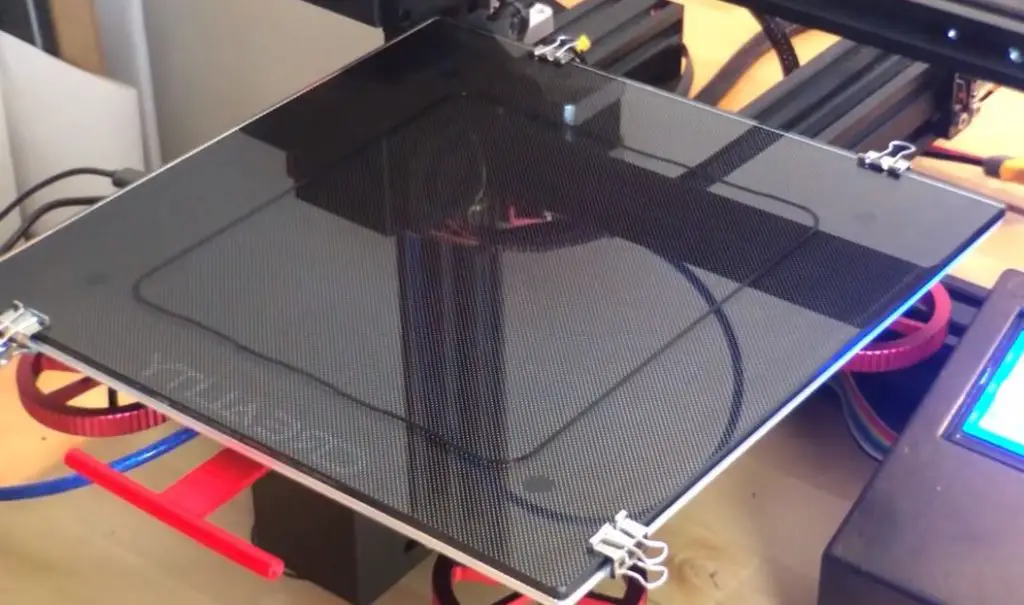
3D printer glass bed damage – How to fix it?
- These full sheets of industrial Borosilicate glass (or simply ” Bomex”) and other industrial-use toughened glass, is it really just an aquarium glass made for fish tanks? No! It’s a high-temperature borosilicate sheet used as cover plates in chemical equipment, such as distillation columns and rectors, even nuclear reactors
- The thickness of the glass is very important. 1mm thick industrial toughened glass isn’t strong enough to withstand heat from your home 3D printer, layer after layer of hot plastic. Glass from your fishtanks will eventually fail, just as kitchen glass has been proven to do. 3. In this article we will respect the glass and not use any metal or hard materials that would scratch the surface, all is possible with a lot of patience and diligence.
How To Clean 3D Printer Heated Bed? (cre: dream3d)
How to clean Creality glass bed?
There are many ways of cleaning your glass bed on the Creality CR-10 printer.
Please do not use any metal scraper as this can easily scratch and damage the surface of your print bed. This guide will help you find a safe and easy way to clean your acrylic glass bed for maximum adhesion during prints!
First, we’ll want to heat up our print bed to 100C degrees with a piece of paper or aluminum foil under it, trapping some heat between the two surfaces.
Then take a blow dryer and direct hot air from below towards all sides of the top layer of the acrylic glass at medium power for about 5 minutes.
Make sure you don’t apply too much force as it may crack or break an already printed part.
Now that the glass is warmed up and your prints are removed, take a sharp razor blade and place it between two pieces of tape as seen in the picture.
The tape will prevent scratching and damage to your print bed. Gently scrape off any remaining plastic or filament until all traces have been removed from the surface of your glass print bed. Remember: do not use force, just let gravity work for you and gently lay down some strokes on top of the residue until it’s gone!
How To Clean 3d Printer Heated Bed? (cre: all3dp)
Finally, we’ll want to use a small piece of wet/dry sandpaper with water as a lubricant to fine-tune our freshly cleaned acrylic glass print bed.
Just follow the same direction as when using a razor blade – do not use force, just let gravity do its thing.
Remember that using water as a lubricant will prevent scratching on your print bed.
You can repeat this process more than once if necessary to achieve the best result before printing again. We find it very important to keep Creality glass bed clean so your prints have excellent adhesion and quality over time!
Conclusion
If you are looking for a cleaning method to get rid of the dirt, debris, and bacteria on your heated bed, try using isopropyl alcohol. This will help ensure that your 3D printer functions properly while maintaining an optimal temperature for printing after it has been cleaned. You can use cotton swabs or paper towels dipped in isopropyl alcohol to wipe down the surface of your heated bed before continuing with regular maintenance.
Further Reading:
- Top 7 Best 3d Printer For Board Games
- Top 7 Best Creality 3d Printers
- 7 Best Filaments For Ender 3
- Top 7 Best 3d Printer For Nylon
- Top 7 Best 3D Printer For Cosplay Armor
Tags: #Petg #Tpu #Abs #Supports #Panels #Pause #Kidney #Lower #Speed #Creep #Quality #Adhesion #Monoprice #Filament #Firmware #Bed