Ender 3 glass bed cleaning seems to be an easy task, but it can be a bit of a challenge. Still, many people are having trouble cleaning the 3D printer plates properly. Independent research for the most effective 3D printer plate cleaning is made. This will be put in discussion in the following text.
Many tests and real-life practical experiments show us that the 3D printing process can be a failure for many reasons.
One of the most common reasons is made by the printing plate.
The part that is not always clean properly in both terms of visible and non-visual.
Consequently, making sure that the plate is properly cleaned will more likely raise the success rate of the printing process.
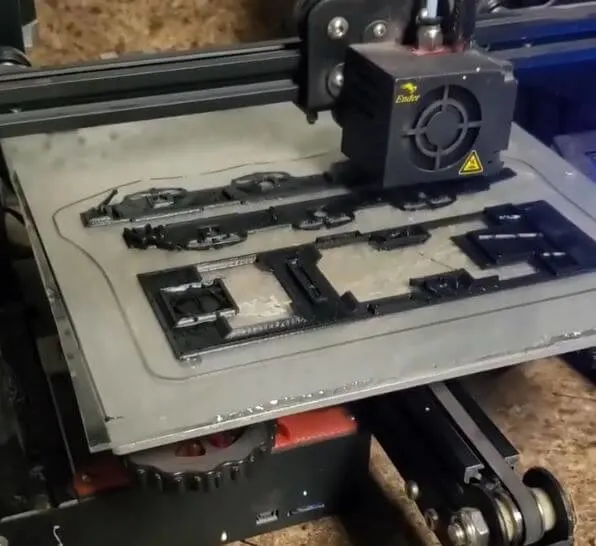
A common problem with the 3D printer plate is after a long time of use, there will be leftover materials.
That will stick on the surface when you remove your 3D printed object. The worst thing about this is how thin and stick it is when you try to remove it.
And more than that, it will affect the printing process in future projects in a bad way. It can be worse if the printing plate surface is made out of glass.
And as you know, glass plates are very expensive and easy to scratch.
So, how do you clean your ender 3 glass bed?
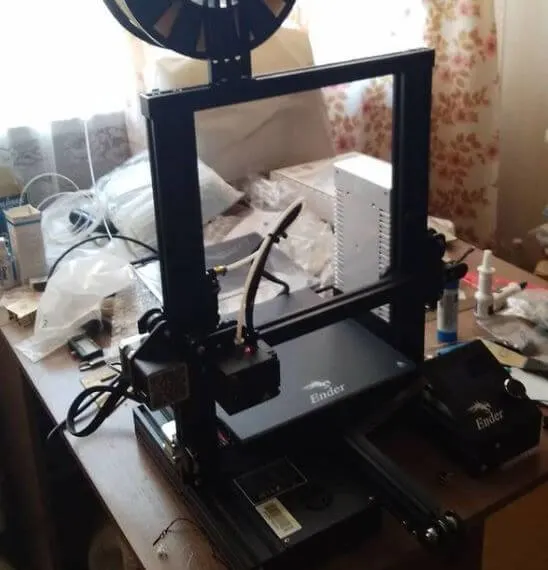
The first thing most of us will come up with just dips some cloth into soaps or cleaning compounds.
Things like windows cleaner or dishwashing liquid are involved.
Then, leave it for a minute to dry and give it a second wipe as a final step.
This way will work, but it will not be effective for a long time. You will have to do it over and over again.
While we are talking about ender 3 pro glass bed cleaning, the following methods will make your printer bed as good as new.
Related:
- Top 7 Best Dual Extruder 3d Printer Under $500
- Top 7 Best Filament For Lithophanes
- 7 Best Hairspray For 3d Printing
- Top 7 Best Direct Drive Extruder
- Top 7 Best Resin For 3d Printer
Some Notable Beds Types For Proper Ender 3 Print Bed Cleaning
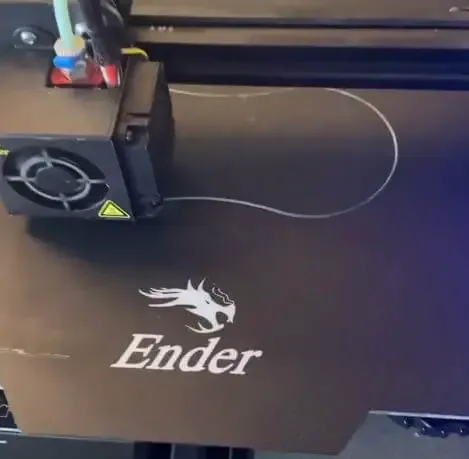
Many 3D printers are being made and introduced to the market nowadays.
Each model has different unique shapes, but there is a certain thing that every printer needs the printer plate.
They come in many shapes, thermal property, and price tags.
As a result, to utilize the cash you spend, here are some of the common examples based on their property.
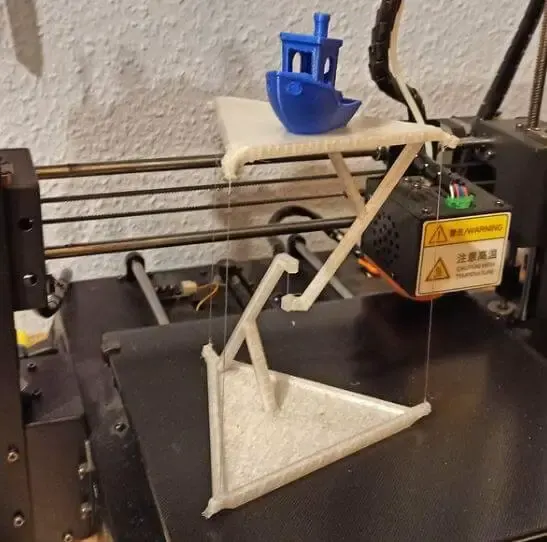
1. Glass Printer Plates:
Printer plates made out of glasses have a high level of toughness and have earned their reputation since the beginning.
Being made of glass means these plates can not be bent over time and will always offer a solid surface.
And also, these have low thermal conductivity, which means it will take more time to heat up.
But on the other hand, the heat can be spread evenly on the build area or even to the edges.
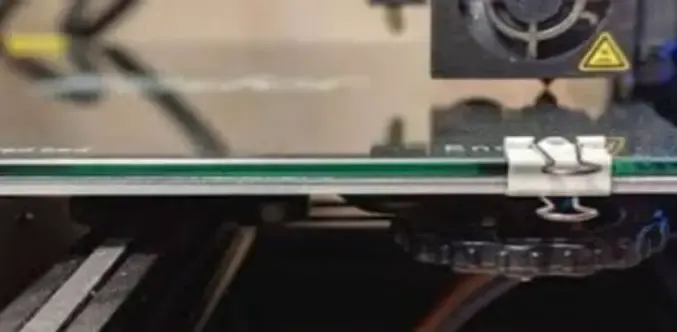
You can use things such as glue sticks or hairspray to add more adhesive to the glass plate surface.
This way you can prevent the freshly printed object from slipping while printing, especially with the ender 3.
Giving the ender 3 glass bed setup increased smoothness to the printed bottom surface.
2. Anycubic Ultrabase:
This kind of printer plate has a special feature applied directly to the surface.
This will offer an automatic stick to the printed object if having enough temperature.
But it can also release the object easily when it cools down.
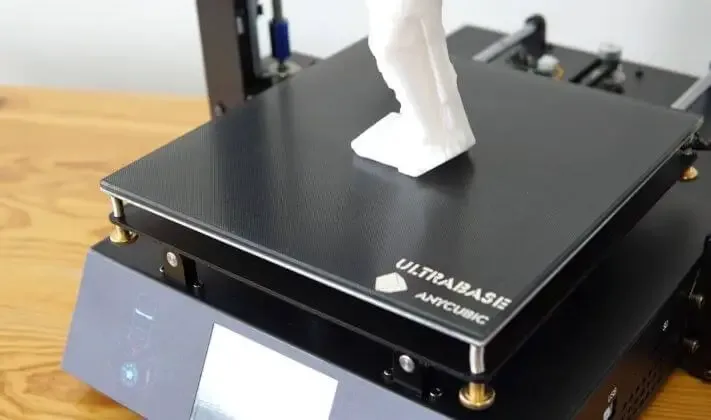
A better view of the Anycubic Ultrabase
In a simple way of speaking, this Ultrabase is developed based on glass plates.
So it will have all the good qualities such as toughness, flatness, and even thermal conductivity.
But, it will not offer the same level of smoothness as the glass printer plates.
Plus, the overall quality will reduce over time and will get damaged if it’s not properly used and maintained.
3. BuildTak FlexPlate:
Just like the name, this kind of printer plate allows you to pop off your printed object when the printing process is done and the heat is down.
But the downside is it needs to be applied on a perfectly smooth and rough surface.
A glass printer bed will be a good choice in this case.
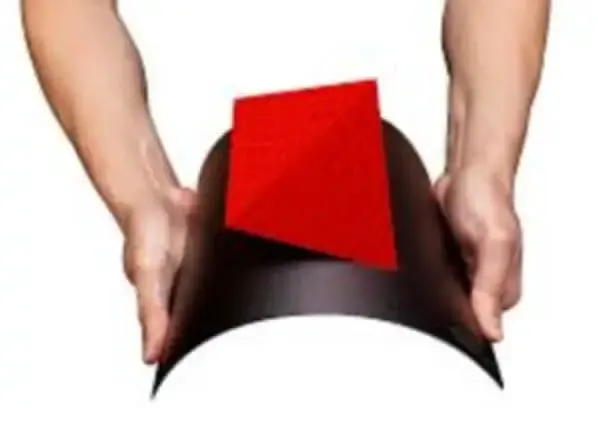
Also, this kind of print plate surface will not stick to the object if the plate is not placed on a flat surface plate.
This means your freshly printed object will more likely to form undesirably to fit the underneath surface.
Ender 3 Pro Glass Bed Cleaning (tape residue cleaner)
As being said, cleaning your printer is a certain thing.
Because leaving your printer plate dirty or full of leftover materials after printing processes is the last thing you want.
It will reduce the overall quality of the next printing project in both terms of looking and feeling.
Or it can be worse, it will destroy all the effort you spent for days or even months. “I would punch myself in the face if something that could have been prevented happens because I was lazy”.
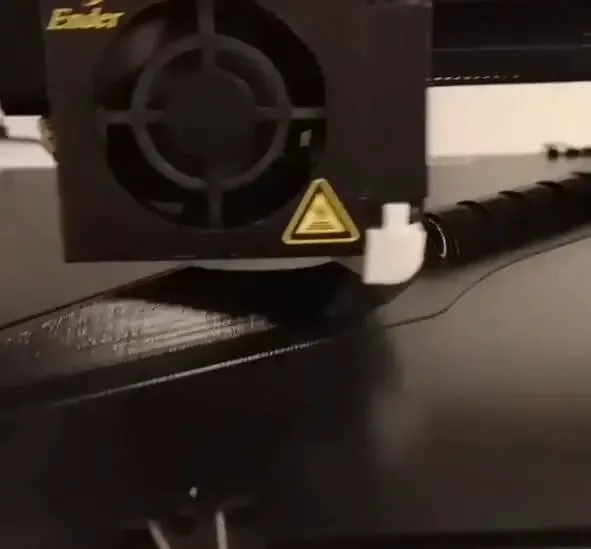
1. Unstickable Surface:
As mentioned, after a while of use, the printer bed stickiness will more likely be reduced.
It will lead to cases such as the object will slip more or less in the printing process.
And as a result, the printer head will extrude the materials in the wrong place.
This will pretty much destroy the project, and you will have to restart the printing process.
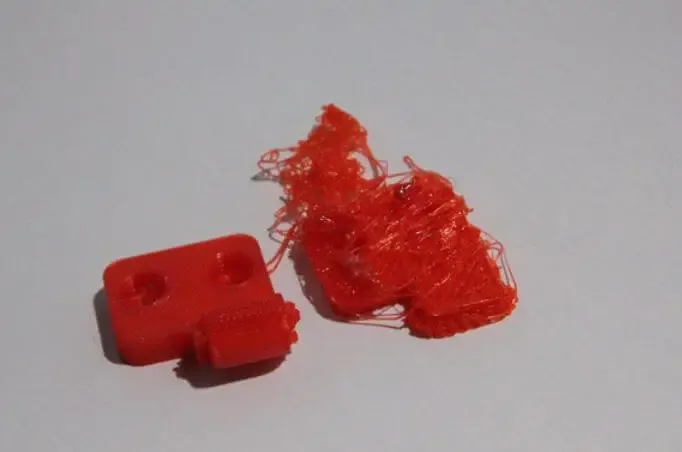
A result of dirty and nonstick printer bed surface
Or in a worse case, the printer head will start spreading the outcoming material everywhere.
Consequently, you will have to clean all your ender 3 glass bed setup, and it will cost lots of time.
Plus, it can be worse if you are working with materials that have high temperatures while printing such as ABS or PLA.
And trust me, you will wish it was a Legos brick for you to detach them from your desk.
2. Bad Final Results:
Obviously, dirty and full of scratched printer beds will not give you the best final result.
In another way of speaking, the surface that faces directly to the printer bed will more likely have no smoothness.
It can be holes or curled-up points, especially if you are working with materials that need temperature for printing.
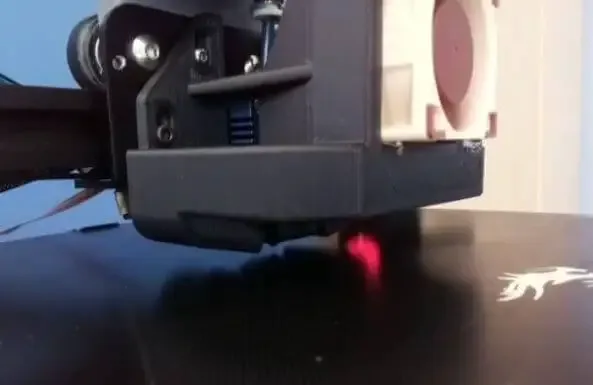
As a result, you will have to sand them off manually.
Let’s be honest, this will not be happening if you clean the printer bed in the first place.
Plus, at the end of the day, it is you who have to clean your ender 3 glass bed. But the cleaning liquid will be your tears!
3. Damaged Printer Bed:
If you keep using the 3D printer without cleaning them properly, you will eventually damage the printer bed.
As a result, replacing a new one will cost an amount of cash and it can be more than you think. Let me tell you why!
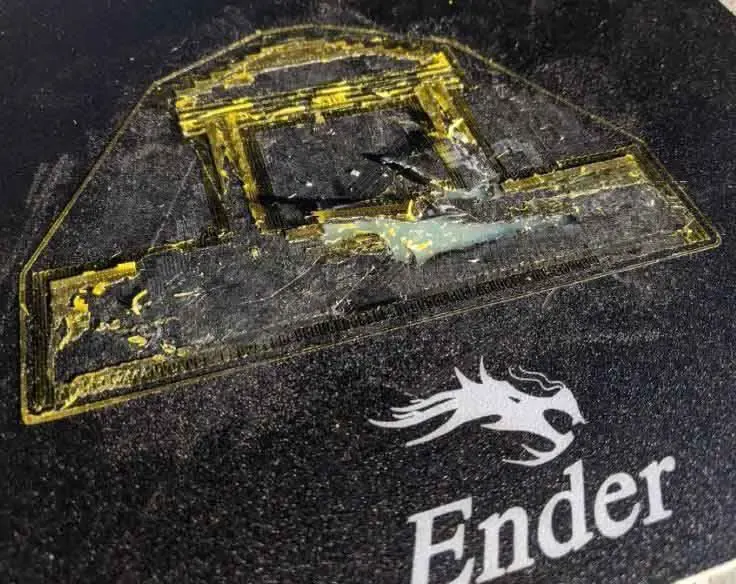
A damaged printer bed will deliver a terrible final result
First of all, say, you are using the printer for a month now. At the time you type “how to clean ender 3 print bed” into the search bar.
You have no idea that it was too late. Secondly, even how hard you try to clean the print surfaces, the material keeps sticking to the surface.
So you use more force to clean it, that is the moment you start giving the print surface more scratches.
And as a result, you will have to spend your money on the new printer bed.
Because even the old one is clean, it will not give the best final result.
4. Professional Look:
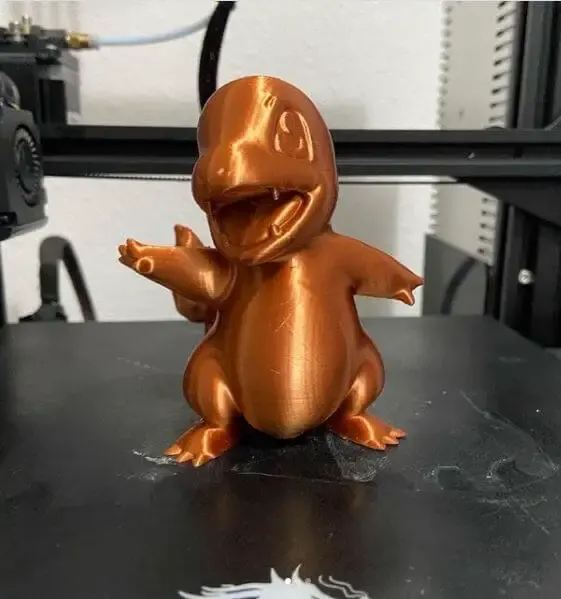
“Success usually comes to those who are too busy to be looking for it” – Henry David Thoreau.
A dirty and not properly maintained printer will not offer a professional look in people’s view.
So many people ignore this, but it is one of the most important things to succeed.
If someone is printing for fun and no one is paying them for what you printed, then he/she can skip this.
Or in case someone works with other people on a project.
I note that the printing setup represents the tools.
This can be considered as the ability rate of work.
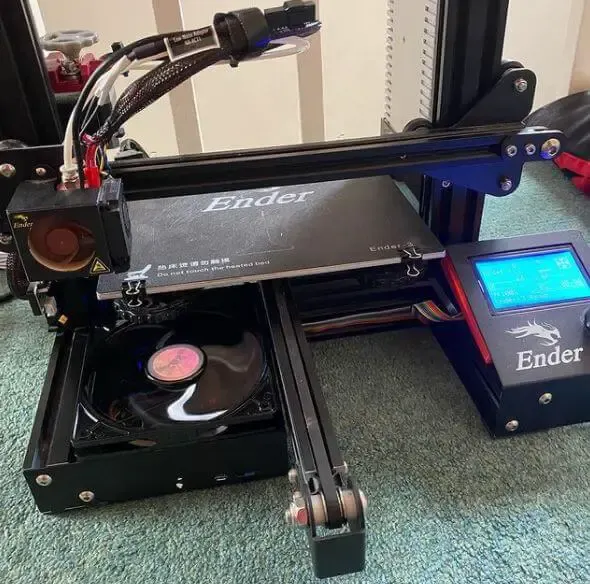
Ender 3 Glass Bed Cleaning – Where To Start (reply)
First of all, how to clean ender 3 bed properly.
There will be tools you need. Many tools work out, but there are 3 must-have things.
Firstly, a ruler, scraper, or something similar.
You will need these to wipe out the surface. But don’t use something with sharp edges such as knives or scissors.
You will rather buy a new print bed instead.
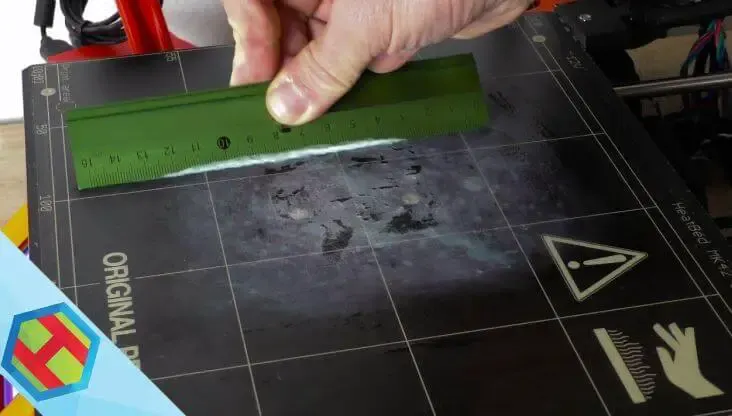
You can use a ruler instead of a scraper
Secondly, paper towels, especially soft paper towels are highly recommended.
The third one, cleaning liquid. Don’t use liquid that creates too many bubbles or foam such as dishwashing liquid because it’s going to be a hassle on the printing surface.
Last but not least, a pair of gloves. You will need these because you will use your hands to clean your ender 3 glass bed.
How To Clean Ender 3 Print Bed – Complete Guide
Since you have needed things, let’s dig into the job. You will want to unplug the power source for safety.
Safer is better, isn’t it? But there are a few things you should keep in mind.
One is if you want to do the job with a scraper or something like that.
Make sure that you use enough force on the surface.
Using less force won’t do a thing, or too much force will damage the print bed.
But if you can balance your force, your print bed will be effectively clean in a surprising way.
Some people will hold the handle with one hand and the other one will push down the edge at the middle area.
Ok, let’s start:
1. The first step, spray the right amount of cleaning liquid on the print plate surface. Let it hang out for a minute.
At this time you can see some bubbles appear on the glass bed ender 3 surfaces.
2. Secondly, use your finger or something with no edges to spread and mix up the liquid directly on the surface.
Then spray for a second time, let it sit for a while, and do the same thing.
You can apply for the third time, but this is optional, it depends on the print bed surface cleanliness.
3. The third thing to do is place your ruler or scraper on the print bed surface at an angle of 45. Push it on the surface in a straight line.
Use paper towels to clean the edge. Repeat the action until the print bed is completely wiped.
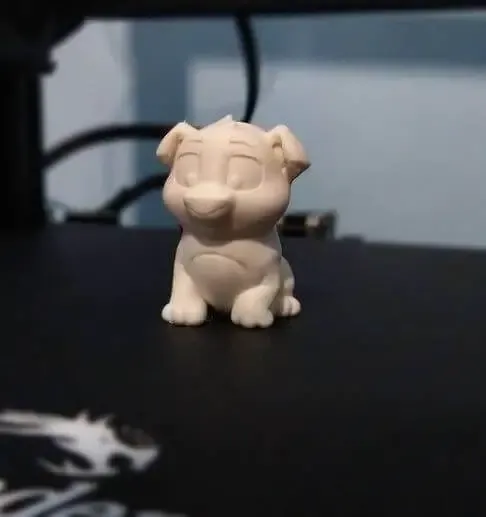
4. Lastly, spray the last layer on the print plate surface and use the paper towels to wipe the surface until it is completely clean.
One more thing, you should avoid using a cleaning liquid with abrasive compounds.
Cleaning liquids with around 70 percent alcohol, if you use liquids have a higher alcohol rate.
It will more likely damage the printer bed surface by leaving scratches.
This makes the future materials will no longer stick to the printer plate in the printing process.
At this time, your printer plate surface is now properly clean, but this method is for normal and usual leftover materials.
In case the leftover materials stuck on the surface are printed at a high temperature like ABS or PLA.
Then you will need some specific things.
1. Cleaning ABS:
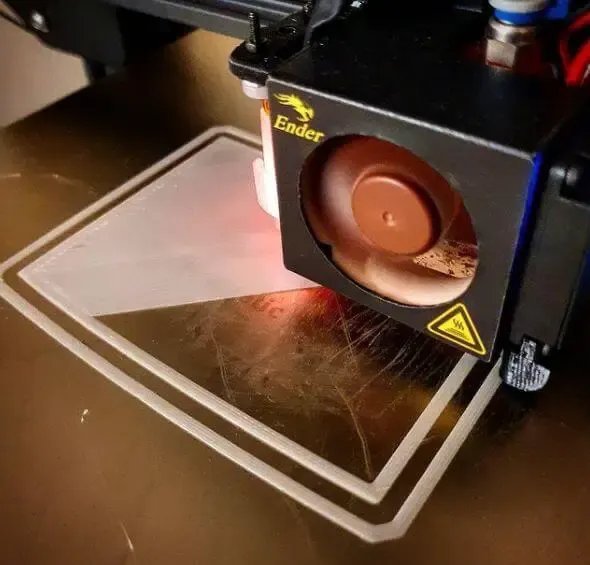
Cleaning ABS plastic will require cleaning liquid with extra removal power such as polish removal.
Most people will choose this option because it will easily dissolve ABS plastics.
This way will make it easier to clean.
More than that, with the extra removal power and easily dissolve, so it will need less force to be properly clean.
This can be considered convenient. Plus, this way just needs a minute to dry.
One more thing, you don’t have to heat the leftover materials for easier ender 3 glass plate setup cleaning.
2. Cleaning PLA:
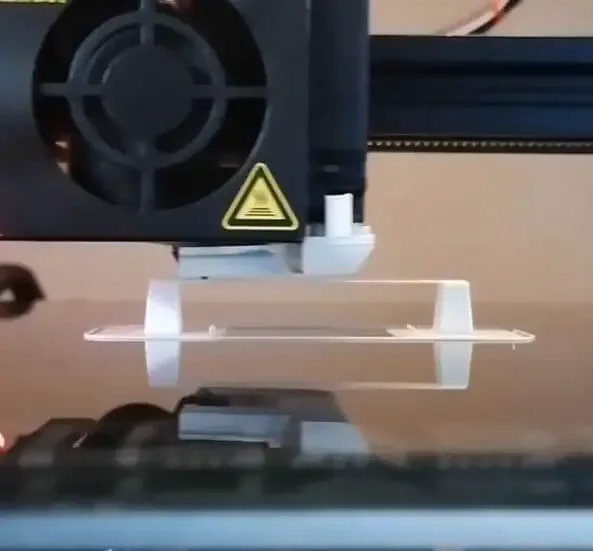
Since this material has been the most popular in 3D printing. But being a plastic material, they can be a bit of a challenge to clean.
The cleaning method above will do just fine.
But many assume that if the next printed layer has the same color as the leftover materials.
There will be nothing bad going to happen. It is, but sometimes bad things happen, and the printed foundation may slip and your project will be more likely destroyed.
Keep in mind that a properly clean and maintained printer will always deliver the best final result as it can. But to earn that, you will want to clean the printer regularly.
Because no matter how hard you try to prevent the leftover materials after printing.
There will be more or less of a chance that some extra materials will stick on the printing plate surface.
How To Clean Ender 3 Glass Bed- Frequently Asked Questions
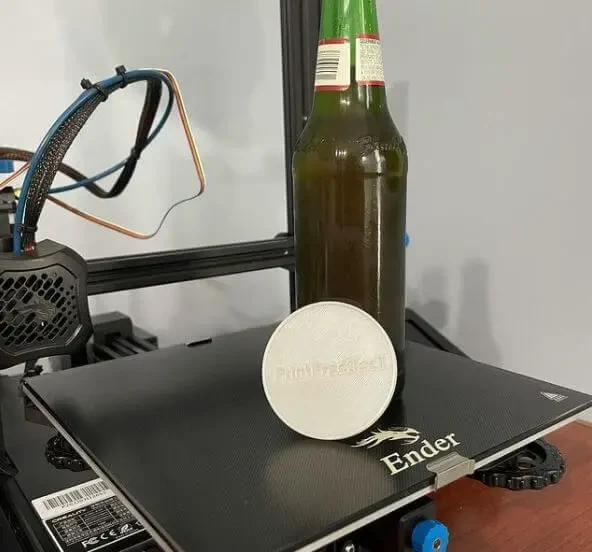
Since some cleaning tips, why should you clean, and a basic guideline in cleaning the print plate surface is discussed.
There will be things that many people are wondering about.
The first thing to say, the time and effort that the cleaning process cost will depend on many things.
Such as how clean or dirty the print surface is, or what leftover material is stuck on it.
The second thing, different kinds of print plates will need different requirements to be properly clean.
Things like cleaning liquids, tools, or wipers are also included.
1. How Can I Make My Glass Bed Adhesion Better?
Technically, adjusting the print plate surface temperature will more likely increase the adhesion of the print surface.
This happens because the first layers tend to cool down too quickly in the printing process.
As a result, there will be more chance the materials will not stick to the glass print plate surface.
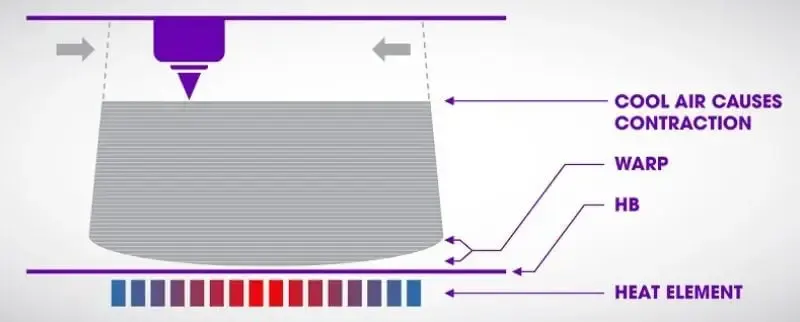
A simple explanation on how heating the printer bed will work finely
In case you are stuck with print plate surface adhesion problems.
Many suggest that you should try increasing the printer temperature a bit higher.
Start with increasing 5-degree increments at first. Then try adjusting it for a suitable temperature.
2. Does Acetone Dissolve PLA?
Many people have the idea that using acetone will dissolve PLA leftovers, it will not work effectively.
Cleaning liquids such as bleach or acetone will only soften the leftover PLA plastic.
But in case you are thinking about cleaning the ender 3 glass bed set up properly, you will need a better one.
As mentioned, cleaning liquids with 70 percent alcohol are highly recommended.
They can wipe out buildups finely with no hassle. And also, it will more likely cost less time and effort.
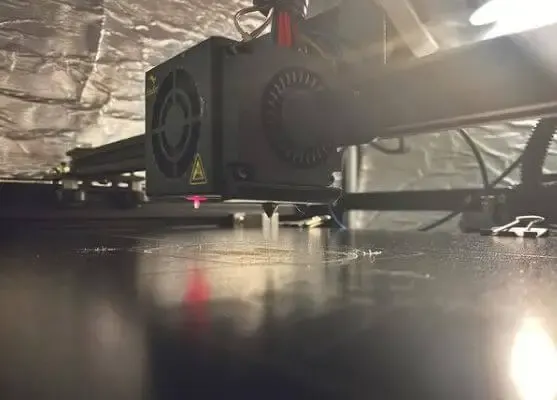
3. Does PLA Need A Heated Bed To Clean up?
In case you are talking about using heat in the cleaning process.
Then the answer would be yes, you will need some heat.
As PLA materials will soften with the right amount of temperature.
So you can use this property in the ender 3 glass bed cleaning process to make it easier.
Ender 3 Glass Bed Cleaning In Conclusion
“Every problem is a gift – without problems, we would not grow”, said Anthony Hopkins.
So if something bad happens in your 3D printing project.
You correct the mistakes and start-up with what is left.
Things like the freshly printed object slip away while printing or undesired rough surface can be involved.
But you can always prevent them from happening. It all starts with a small step, clean your equipment.
If you want to stand on the right side in terms of 3d printer glass bed cleaning.
Then you will want to properly clean and maintain the printer plate. Trust me, it is not going to be a waste of your time and effort.
Hopefully, your Ender 3 glass plate cleaning process will work out and your equipment can be as good as new.
Further Reading:
- Top 7 Best 3d Printer For Board Games
- Top 7 Best Creality 3d Printers
- 7 Best Filaments For Ender 3
- Top 7 Best 3d Printer For Nylon
- Top 7 Best 3D Printer For Cosplay Armor
Tags: bed, ender, clean glass, wash, glass bed residues, glass bed make, good glass bed, glass bed creality, glass build plate, glass bed pla, glass bed apply, printer bed leave, glass bed clean, apr, tape, residue, build surface, ago, accessories, share, creality ender, pei.

