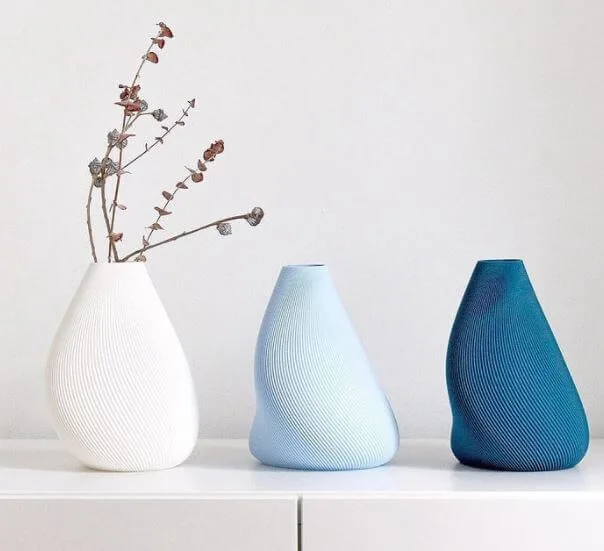
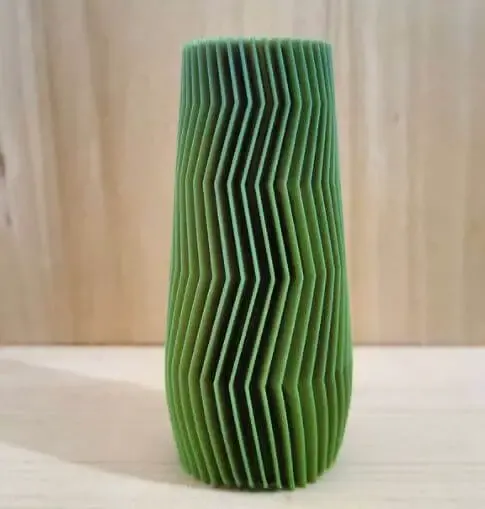
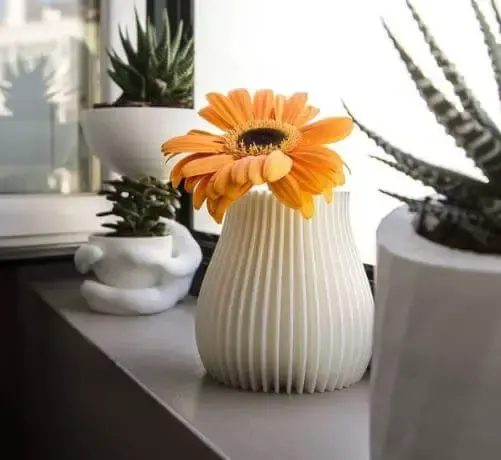
Are you going to make 3D printed vase or cup but still do not know how to stop them from leaking. In this article, you will find some tips on how to waterproof 3D printed vase and other containers.
Basically, you can make your vase become water-resistant by both changing the printing settings and doing post-processing tasks such as coating.
Moreover, we listed some products and what you need to consider carefully before starting.
We hope that thanks to our advice, you can get the best of your project.
Let’s take a look!

Related:
- How Much Does Jewelry Laser Engraving Machine Cost?
- How To Buy 3d Printed House? Complete Guide
- Are 3d Printed Phone Cases Good? Make Your Own Accessories
- How To Make Money With A Cheap 3d Printer? Complete Guide
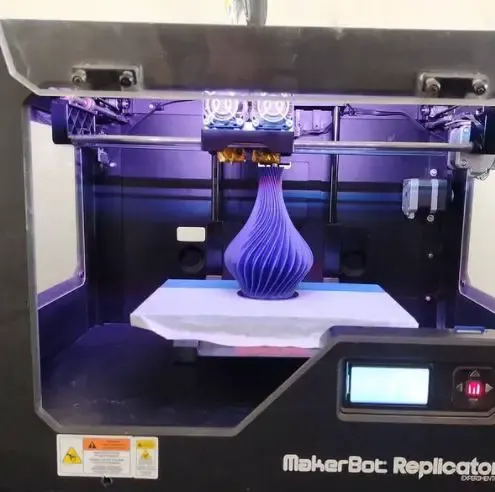
Why Does My Vase Leak Water? Waterproofing print
There are a few reasons for this, the first of which is that traditional 3D printers that use the extrusion process tend to produce porous prints.
The reason for this is related to the nature of the layers that are extruded during the printing process.
A 3D print may appear to be watertight at first glance, but it is possible that small holes exist where the layers connect.
While this is less likely to occur in lengthy, continuous extrusions, more complex structures may make the extruder move in ways that producing gaps.
Liquids may slowly pass through these spaces, negating any waterproofing ideals.

Source: All3DP
The layer gaps are unlikely to be considered, and many 3D printed objects are waterproof by accident.
However, if you wanted to make anything that had to be waterproof, you would have some difficulties.
Another potential concern is that when some plastics, like PLA, are exposed to water for an extended period of time, they soften and eventually dissolve.
While a print would probably survive a dip, water-based liquids should not be stored in a PLA container for long periods of time.
A layer leak would almost probably develop as a result of the softening.
In the below parts, we are going to talk about how to waterproof 3D printed vase.
How To Make Watertight 3D Prints? Things That Affect Your Print

1. Material Choice (printing waterproof)
There are filaments that are temperature or chemical-resistant.
But are there any ones that are especially waterproof?
It is possible in books, but not in reality.
For beginners, some products, like PVA and BVOH, are not ideal to use for printing a watertight part because they can break down in the water.
If you pour water into a print made with one of these filaments, it would quickly leak.
However, is there any difference between PLA and PETG?

Some people say that PLA partly dissolves in water and loses its ability to hold.
The truth is that PLA does not dissolve, but it can swell and act as a wick for water in certain conditions.
This means that in case, you could fill the vase with water and it would leak after a few weeks.
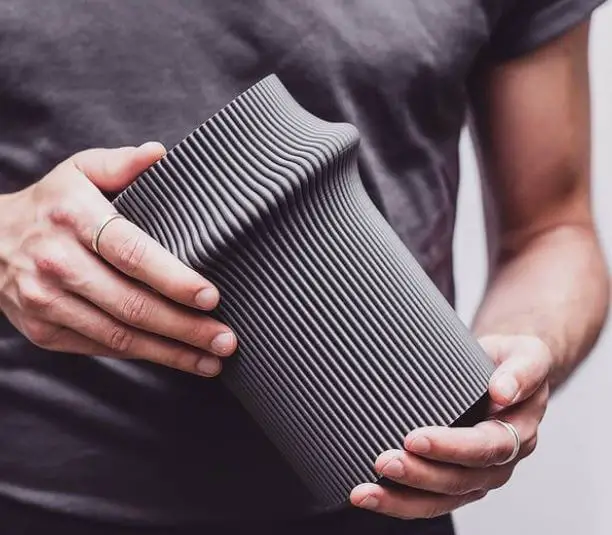
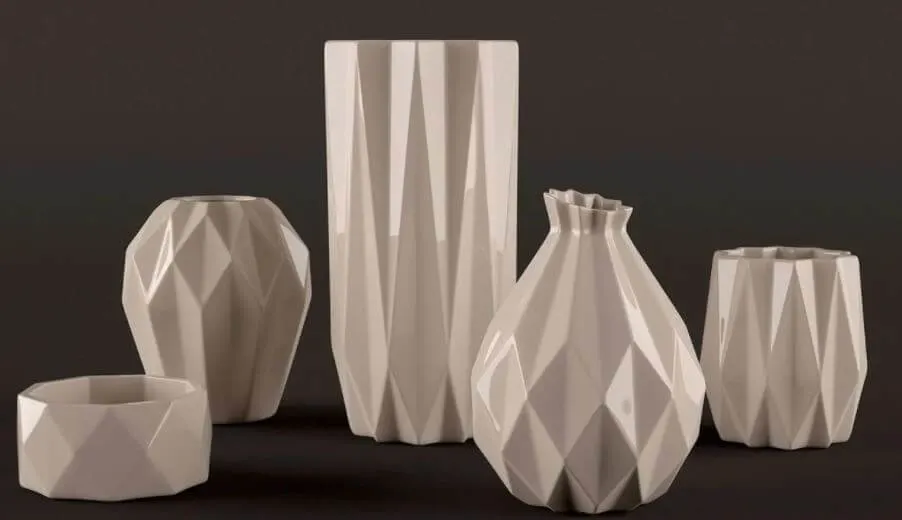
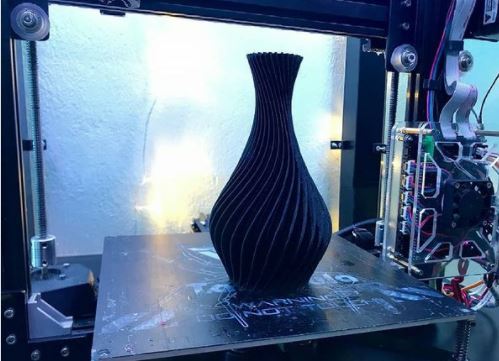
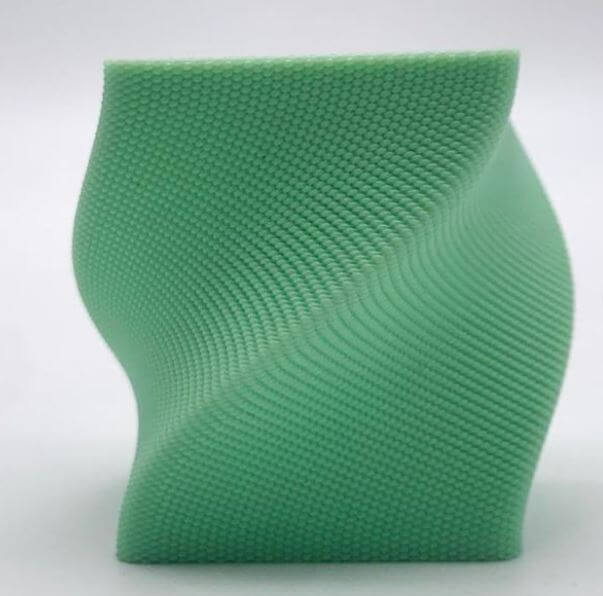
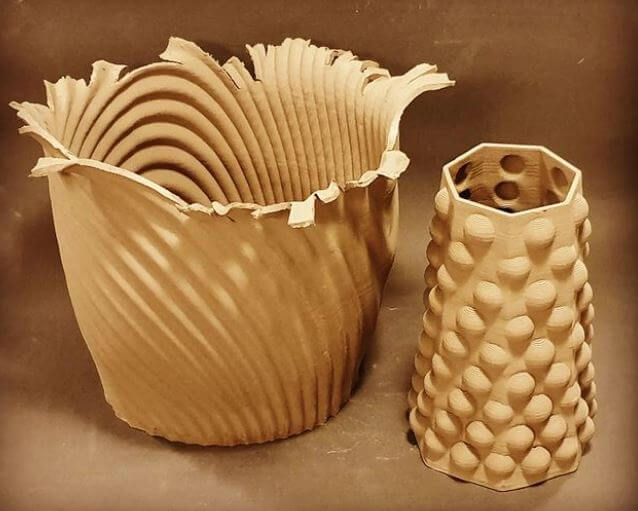
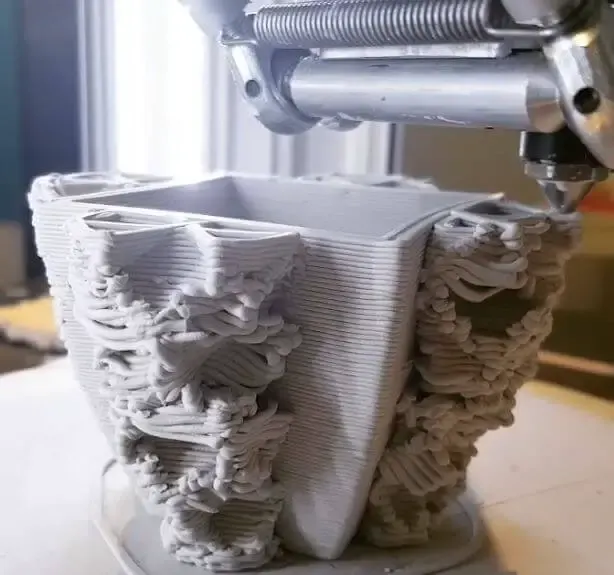
2. Right model choice (vase mode)
Avoid printing too complex models is one of the keys to success.
The ones with complicated designs tend to have more holes in their walls, which might lead to leaks. It is also a good idea to go with things that have sturdy walls (2-3 mm or even thicker).
If you choose a model that just allows you to set two perimeters, for example, it will almost certainly be unable to contain water.
Moreover, it will need post-processing as well.

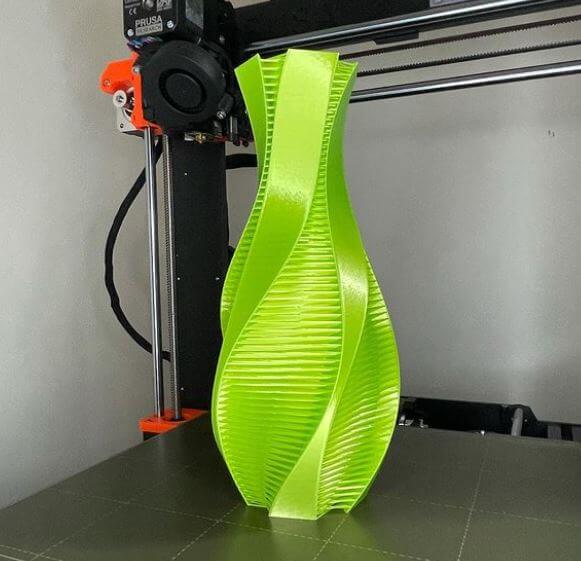
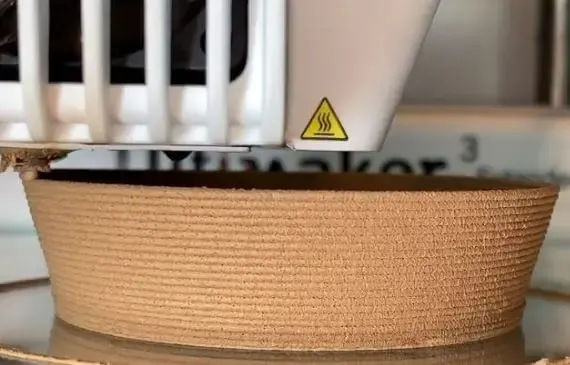
3. Layer height (infill density)
To remove layer spaces, which are one of the most common reasons for the leak, you should generally raise the layer height.
Similarly, some people say that printing transparent prints with a lot of layers is better.
We proved that this is wrong for making waterproof things as well. Only larger nozzles can work with somewhat thicker layers make sense, but with 0.4 nozzles, it is ideal to print with 0.15 mm layer height.
We found that the lowest layer heights (0.05 mm) had the best waterproof feature while the highest layer heights (0.3 mm) had the worst, in contrast to what we used to believe.

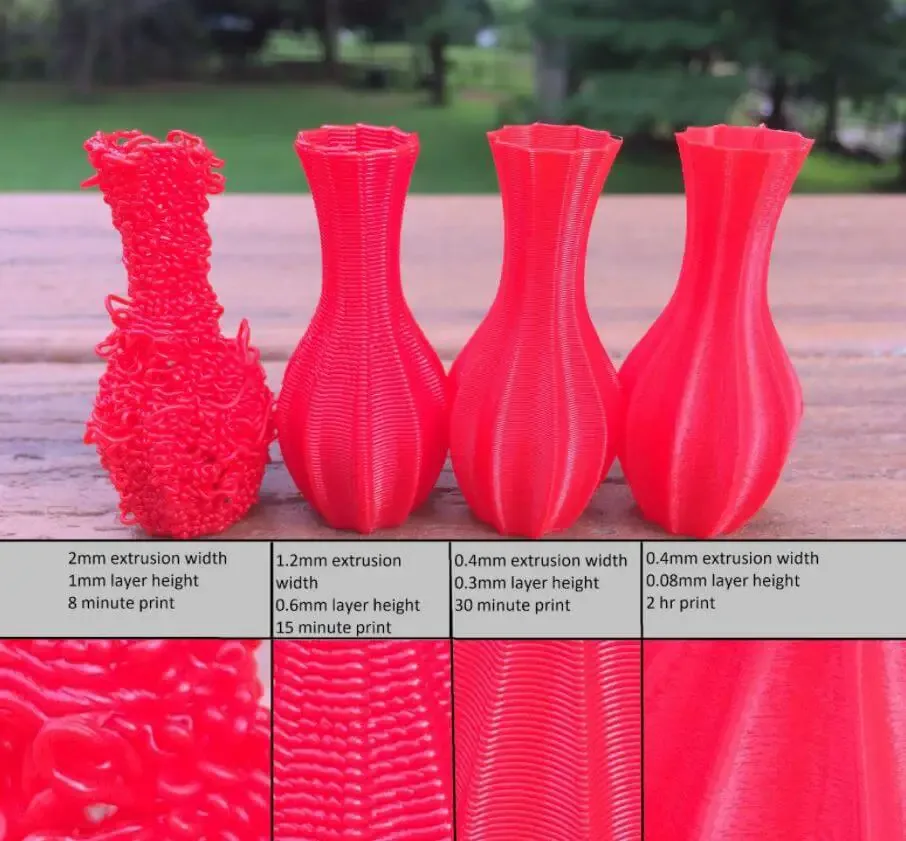
Differences in layer height (Source: Pinterest)
To be clear, the main cause of the leak appeared to be seams and transitions between solid infill and perimeters, rather than contact between layers.
Printing with a 0.15 mm layer height results in the best finish as well as good waterproof quality.
The main goal is to make the wall as thick as possible.
Thus, low layer height, solid infill, and high temperature is the best way to achieve this.
4. Bottom and top layer:

The number of solid layers is less crucial than the number of perimeters.
Because when the first layer is pressed into the bed, the bottoms of these objects are printed with a flat surface facing down on the heat bed.
As a result, the first layer may have been the main water barrier.
The infill overlap between the solid layers and the perimeters is the main issue with the bottom solid layers.
You can change these settings to improve connectivity or increase flow.
5. Flow (wall thickness)
You can make the model more coated by increasing the flow setting.
But there is one big drawback: the print will lose its accurate proportions and will most likely have an unattractive surface.
If you are making a design that does not require a lot of precision, it is not a big deal; you can usually boost the flow to 105-110 percent.
But keep in mind that it will almost certainly result in a lot of stringing and oozing (PETG for example).
Increasing the flow rate is probably the simplest approach to make your 3D print waterproof.
This is probably the only technique to seal 3D prints walls if you wish to print in vase mode unless you want to go down the post-processing road.
Waterproof 3D Printed Vase: Post Processing Methods
As we say above, you still can get waterproof prints without any post-processing by changing a few simple settings and choosing the right material.
But what if we need a bit more? Here are some options to help you get the most out of your prints.

1. Acrylic lacquer:
Clear acrylic oil is the easiest and most user-friendly way to make the final coat.
Simply spray the model a couple of times outside and inside and let it dry.
This product comes with both matte and glossy finishes.
You can easily find them on stores or online sites.
Keep in mind that we do not recommend using this one for food-safe models.
In this case, we suggest you use reliable food-grade glue or another safe surface coating.

2. Nail polish:
Nail polish may also seal the surface, which may sound weird.
Its biggest advantage is that it is easy to find.
You can buy it from a drugstore or ask anyone who has used it.
The biggest downside of this procedure is that it is difficult to apply because nail polish comes in small bottles with little brushes.
In addition, when compared to other procedures, it is rather costly.
3. Epoxy resin:
Sealing the surface with food-grade epoxy glue will not only make it waterproof, but it is also one of the few ways to make food-safe 3D printed plates.
Keep in mind that working with this is a messy task that produces fumes.
So you must take additional precautions.
We strongly advise you to use gloves and, at the very least, breathing protection.
Always follow the manufacturer’s instructions, especially if you are going to construct food-safe things.
Curing in this way might take many days, which adds to the time it takes to finish your work.
4. Chemical smoothing:

This is by far the most elegant way. It is a quite clean job, although it normally has an odor.
However, you will get the end product as a smooth, clean version of the material you used.
The fact that only a limited number of materials can be easily smoothed is a big disadvantage of this solution.
We all know that every type of filament has a solvent, but only four ones – ABS, ASA, HIPS, and PVB – can be smoothed with normal and safe chemicals.
Safety Precautions When Using Epoxy Resin

In fact, working with epoxy resin may lead to a crucially bigger health danger than any other type of method.
This is due to the presence of a liquid resin that, if not handled properly, might be very toxic. At least, you need to have these protection gears:
- Hand gloves
- Face mask
- Safety glasses
- A big work table

Nonetheless, after you complete dealing with the curing process, you are no longer at risk.
When curing is still in progress, however, you must be careful not to touch your model with your bare hands.
Uncured resin absorbs quickly into the skin.
Some people have experienced sunburns from exposing that same uncured resin location to the sun, which causes a chemical reaction.

A large table will protect you in the event that something goes wrong, which is a reasonable possibility given the type of printing you are doing.
It is a good idea to have a tray underneath your printer to protect your workplace and floor, as well as to keep things secure and organized.
Safety guidelines for newbies: (97) Resin 3D Printing Safety – Important for Beginners!
How To Waterproof 3D Printed Vase?
As we mentioned above, we can use many ways to smooth the surface.
Besides, to close any small holes where water might leak out.
Using a special spray to waterproof a vase is another good option.
The Performix Multi-Purpose Rubber Coating Aerosol has shown to be effective for many people.
It is a flexible, nonslip rubber coating spray that dries quickly and leaves a durable surface.

You can set the extrusion width to 30% larger than the nozzle diameter, and use two perimeters with an overlap of more than 30% to entirely lock the perimeters.
The best part is that it will remain flexible and not crack or become easy to break at any serious temperature.
Waterproof 3D Printed Vase: Frequently Asked Questions

1 – How To Watertight PLA 3D Prints?
Firstly, PLA is not a water-resistant material.
Using wax to coat PLA prints is one way to make them waterproof.
It is widely handy and you can use it for different goals, such as coating carbide tools to increase its firmness.
2 – Which Filament Is Waterproof?
PETG is a common water-resistant one.
It is not only strong as ABS but also easy to use as PLA.
Moreover, it is safe for food as well.
3 – What Is The Safest Epoxy?

We suggest you using the ZDSSticky Epoxy Resin.
It is ideal to use for food.
FDA has approved this product with no VOCs and meets all the safety standards of them
So you can use it to treat your object with no worries.
4 – Are 3D Printed Things Safe For Food Contact?
Almost all of the materials are not suitable for food contact and may contain harmful chemicals to your health.
Please check carefully and only use food-safe ones to 3D print parts that will come into touch with food.

5 – Why Do I Need To Cure My Objects?
To completely finish your work, you need to cure the resin by exposing them to direct sunlight or UV light.
Curing or post-curing works will make the final result look smooth and protect it from many external factors such as humidity.
Moreover, the resin can be very harmful if not cured.
Conclusion
Because of how they were made, it is very hard for 3D printed objects to hold water for a long time.
However, now you can use many ways to solve this problem.
A waterproof 3D printed vase is totally possible if you follow the right direction. But keep in mind that no materials that can ensure a no leaking result in a long time.
Further Reading:
- Best Creality 3d Printer– How To Choose The Best One?
- Best Filament For Ender 3
- Top 6 Best 3D Printer For Cosplay Armor
- Best 3d Printer For Board Games
- Best Filament For Lithophanes: What To Use
- Top 7 Best Dual Extruder 3d Printer Under $500
Tags: vases, vase waterproof, way to waterproof, waterproof vase, ultimaker cura, infill density, printed plant, plant pot, hold food, printing waterproof, wall thickness, plant pots, ago, news, printable, thingiverse, support
Kathleen Rydell
Thursday 14th of December 2023
How can I purchase a 3d printed colored vase