The Flashforge Finder Vs Adventurer 3 Lite, are two of the most popular 3D printers in the world.
The price is very different, as well as the features. Which one would be best for you? Read this blog post to find out!
Flashforge Finder Vs Adventurer 3 Lite Printer reviews
1. Flashforge Finder

- Reduce the risk of damaging your build plate.
- Allows for easier removal of 3D prints from the printer.
- You’ll be able to calibrate your machine in 10 minutes or less.
- Your prints will have a higher quality finish.
- Save time and effort on calibration with Finder.
- Less noise for your family and colleagues.
- Safer to use around children.
- The 2nd generation Wi-Fi connection is more stable.
- You can send 3D files from your computer to Finder 8GB memory with your own Wi-Fi network under AP or STA modes.
2. Flashforge Adventurer 3 Lite

- Your prints will be cleaner than ever before.
- Low noise level for quiet environments
- No need to calibrate the build plate
Feature Details – Flashforge Finder Vs Adventurer 3 Lite
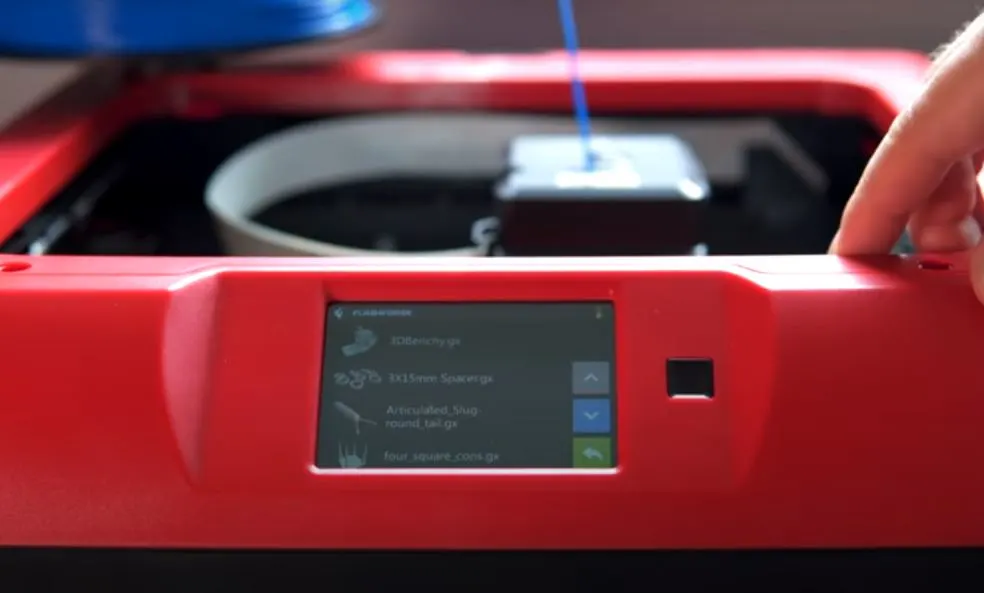
Flashforge Finder printer
https://www.amazon.com/FlashForge-Finder-Printers-Cloud-connectivity/dp/B016R9E7J2?&linkCode=ll1&tag=printerpreneur-20 &linkId=5b554f254739ae409a1926964cc5a9f9&language=en_US&ref_=as_li_ss_tl
Customer review from the US:
This printer has the ability to print high-quality, detailed objects.
You may see many photoshopped pictures of 3D prints that don’t look very good but this is because they are not using a great source model for their printing job. If you give it an awesome 3D modeling file then your final product will be amazing!
I’ve printed highly detailed objects with a 0.15mm layer height and am impressed by how well my printers turn out time after time thanks to all these features combined into one device unlike anything else on the market today
I’ve owned this printer for about six months now and although it’s done great work in that time period there have been various issues cropping up when trying to print things out which is understandable considering all printers go through them at one point or another.
However, after doing some research online I came across an article explaining how people were able to fix their problems by simply calibrating the low-end controls like contrast leveling as well as adjusting colors just so slightly.
A

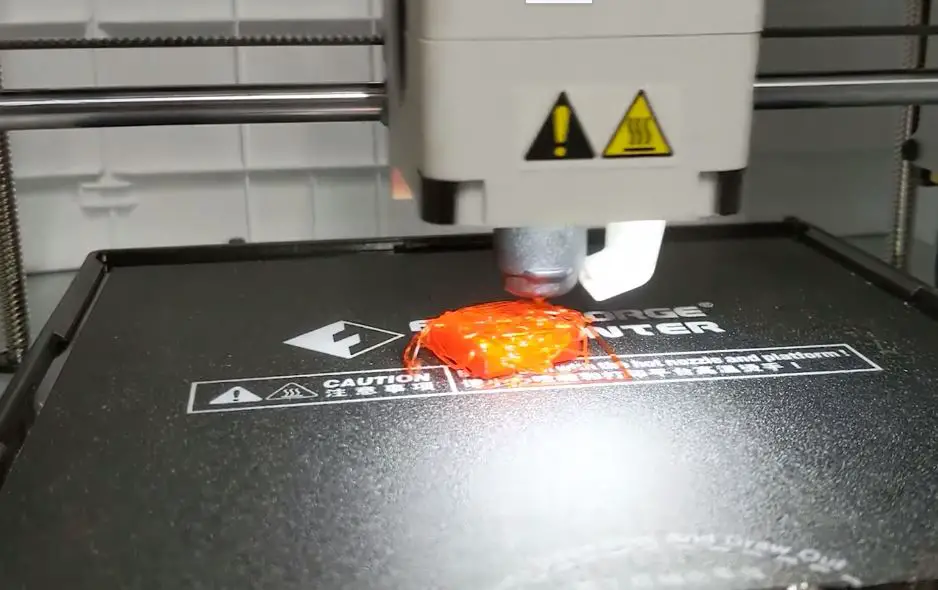
When printing larger objects, I noticed that the corners of my object would lift off the print bed.
This can be annoying as it may lead to a failed or shortened production time and wasted filament.
Although there are online solutions such as buying expensive tape for your printer’s bed, I found another solution from trial-and-error: put some adhesive on each corner before you place down your object!
If you find the corners of your prints are warped, it is likely because they were not leveled.
The printer’s built-in bed leveling routine may be insufficient for accurate results in some cases and so other solutions must be sought out.


To get the best and most accurate print, I use a bed-leveling system that calibrates each axis of movement.
Once calibrated, it prints thin lines around the perimeter to see where everything is going off level. With small adjustments on my knobs, I’m able to create an even surface for printing with detailed accuracy!
B
You might think that if you are printing an object with a raft, then it would be better to print the entire thing on your printer’s build plate.
However, sometimes this can lead to worse results because there is less surface area for adhesion and warping may occur in other places of the model as well.
I set the raft’s first layer to 2mm wide, 0.2mm high, 75% infill, and continued for a few more layers before pausing it again so that I could print my object on top of it since those settings were perfect!
The glue stick included was also really useful because I found out that with this printer sometimes when an object is printing you can’t use other tools which make sure everything goes smoothly like in traditional 3D printers where we have lots of hot-swappable parts but not here.
Overall, I’m happy with the printer and have only one complaint: The print bed seems too small for anything larger than what can fit on an 8×10 page. But if you’re looking into buying your own personal first printer or want something straightforward without any bells or whistles then go ahead buy this now.
It’s easy enough to learn how everything works in no time flat so you’ll be up and running before knowing it!
Related:
- Flashforge Finder Vs Xyz Da Vinci
- Monoprice Select Mini Vs Flashforge Finder
- Monoprice Voxel Vs Flashforge Finder
Flashforge Adventurer 3 Lite (printing/filament/hardware)
https://www.amazon.com/FlashForge-Adventurer-Lite-FDM-Printer/dp/B07TYRGWSQ?dchild=1&keywords=flashforge+adventurer+3&qid=1628999902&sr=8-5&linkCode=ll1&tag=printerpreneur-20 &linkId=7012ed88ca632a317e0e415c8c968c58&language=en_US&ref_=as_li_ss_tl
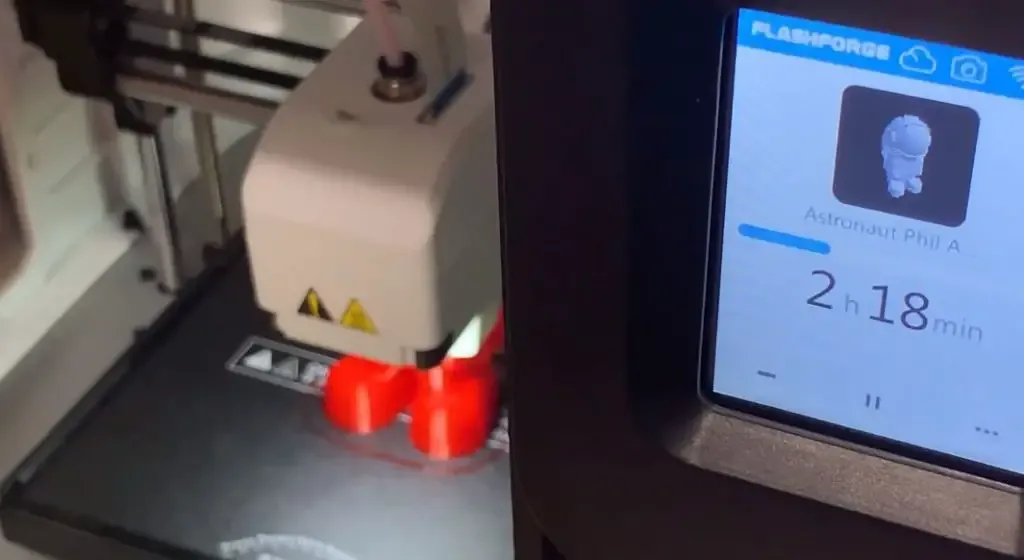
The FlashForge Adventurer 3 Lite is designed to create fun, interactive objects from your imagination.
Thanks to its quick heat-up nozzle and removable heated build plate, the Adventurer 3 gets you printing and removing your creations in a snap!
The FlashForge Adventurer 3 Lite is a 2.8-inch touchscreen LCD printer, with an intuitive UI and simple operation!
Get perfect results every time with no leveling required – at the factory level.
Its ultrasonic background noise gives you low noise levels, so printing won’t disturb everything else in your life or classroom and its lightweight metal frame provides sturdy stability…without sacrificing mobility.
Say goodbye to fragile glass screens too!
All of this machine’s components are carefully engineered to provide high-quality prints without electrical risks or mechanical wear & tear from long periods of use.
Customer review from the US:

If you’re looking for a 3D printer that will get out of the way and let you print, look no further than the FlashForge Adventurer 3 Lite.
It was so easy to assemble I could have done it in my sleep! There’s nothing worse than having to work your brain through complex instructions just to make something as simple as an ice cube tray or some egg cups.
The printer was an absolute snap to set up-I had it out of the box and printing in less than 10 minutes.
I plugged my laptop into its USB port, printed a sample document from the start menu–and when that turned out great, I started on one for myself.
Printing your own piece after being shown how? That’s just amazing!
A
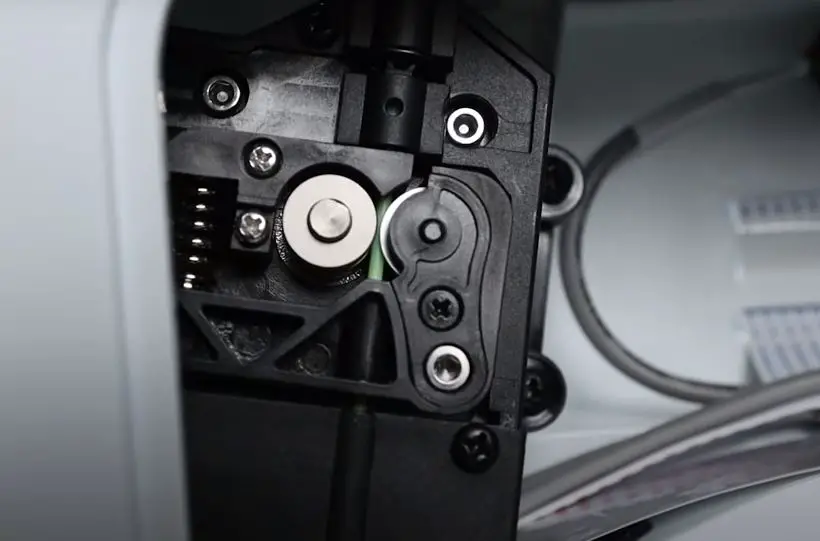

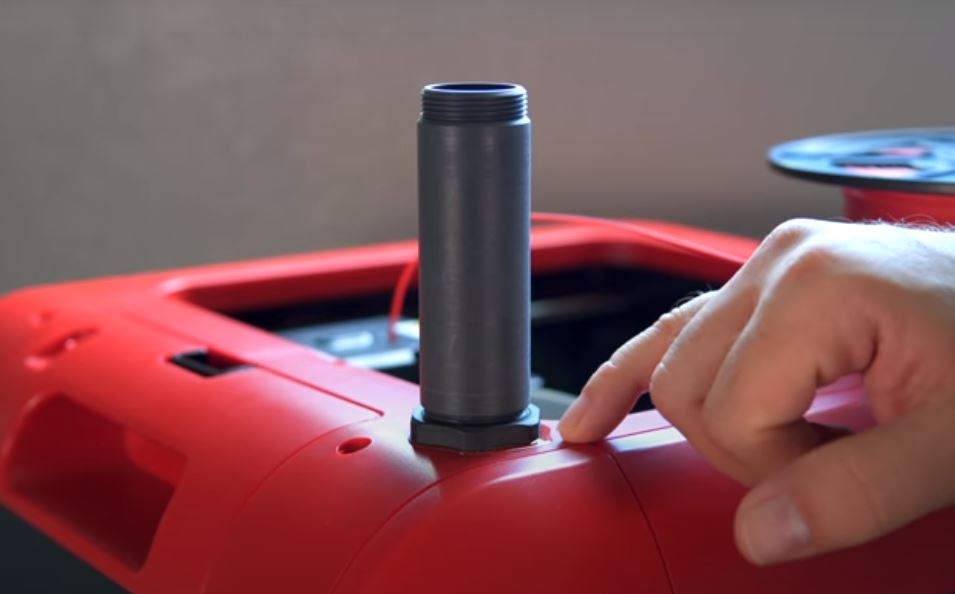
When I first received my Flashforge Adventurer 3 Lite 3D printer, one of the things that caught me off guard was how difficult it is to get filament onto a spool as opposed to just cutting them into standard lengths.
Luckily for those who are like me and don’t want their desk space taken up with extra supplies, there’s an easy way around this!
On Amazon, you can find a variety of different items such as feed tubes or print cores which make loading your new filament on the fly quick and simple.
I loved the idea of my new 3D printer, but I couldn’t get it to work.
The machine is designed for much smaller spools than what you can buy in stores nowadays.
My solution was to have a small acrylic holder next to the printer where I could just place these larger rolls and feed them through one at a time!
B

The printer is easy to use and has a touchscreen display.
It also works with Wi-Fi, Ethernet, SD cards, or USB sticks.
The features of this printer make it stand out from the rest because I can print in ABS material on my own without needing any help!
The g-code itself is stored in the printer’s memory so you don’t have to leave your computer turned on.
Adventurer supposedly has filament run-out detection but I haven’t used it yet, so I can’t speak for how well or accurately it recovers.
Print bed size could be better–it’s small enough that some pieces may not fit without scaling them down a bit first (usually this isn’t an issue).
I’m so glad I bought this printer! It’s been printing all my plans and it hasn’t stopped, even at the highest volume.
The set-up was a breeze – plug in your power cord and turn on the machine with just one click of a button. And for such an affordable price there is no other printer that can come close to competing with its many features like wireless connection or sleep mode when not being used after 30 minutes!
Related:
Conclusion – Flashforge Finder Vs Adventurer 3 Lite
After a lengthy process of thorough research, you may have finally narrowed down your options to two 3D printers. Flashforge Finder and the Adventurer 3 Lite are both great machines that offer different features at various price points.
Whichever one you choose will depend on what is most important to you in terms of raw specs or value for money.
Further Reading:
- Best Creality 3d Printer– How To Choose The Best One?
- Best Filament For Ender 3
- Top 6 Best 3D Printer For Cosplay Armor
- Best 3d Printer For Board Games
- Best Filament For Lithophanes: What To Use
- Top 7 Best Dual Extruder 3d Printer Under $500
Tags: adventurer, lite, compared, v, nozzle assembly, pla filament, build area, review flashforge, printer reviews, foto series, series creator, printer resin, flashforge creator, image, hardware, mm, guider, pro